

You can craft a dreamy wedding with DIY decorations like paper flower backdrops, pressed flower place cards, hand-lettered signs, and handmade keepsakes. Making your own decor adds a personal, one-of-a-kind touch that guests remember. Plus, it is fun and full of heart.
In this guide, you will get 18 DIY wedding decorations for a dreamy day, perfect for crafty couples. We will start with big backdrops, then table details, then personal finishing touches. Let’s make your day beautiful with your own two hands. For more, see these wedding decor ideas.
Part 1: DIY The Dreamy Backdrops
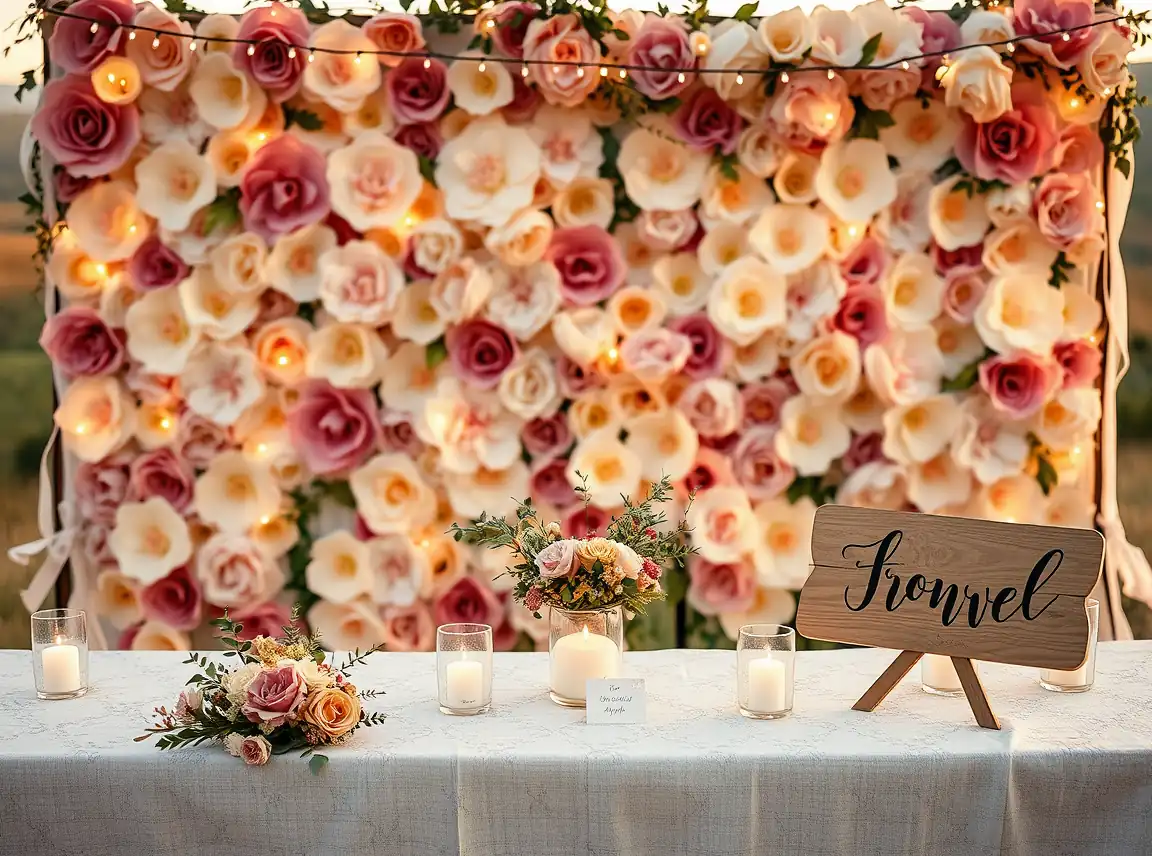
Big backdrops set the whole mood, and they are easier to make than they look. This first third covers the large, dreamy pieces. Roll up your sleeves and have fun.
1. Craft A Paper Flower Backdrop
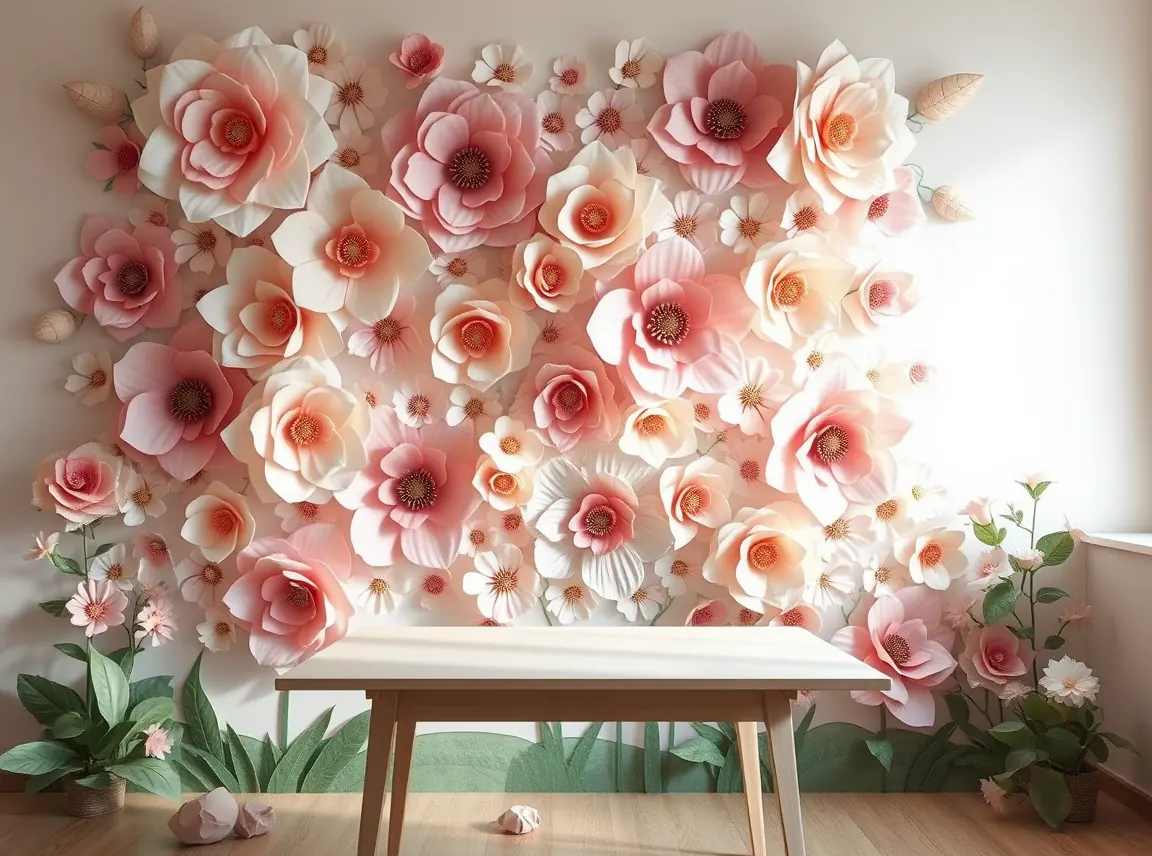
Giant paper flowers make a stunning, dreamy backdrop. Cut petals from tissue or cardstock, then glue them into big blooms. Mount them on a board or wall behind your ceremony or head table. They never wilt and you can keep them forever.
2. Make A Macramé Hanging
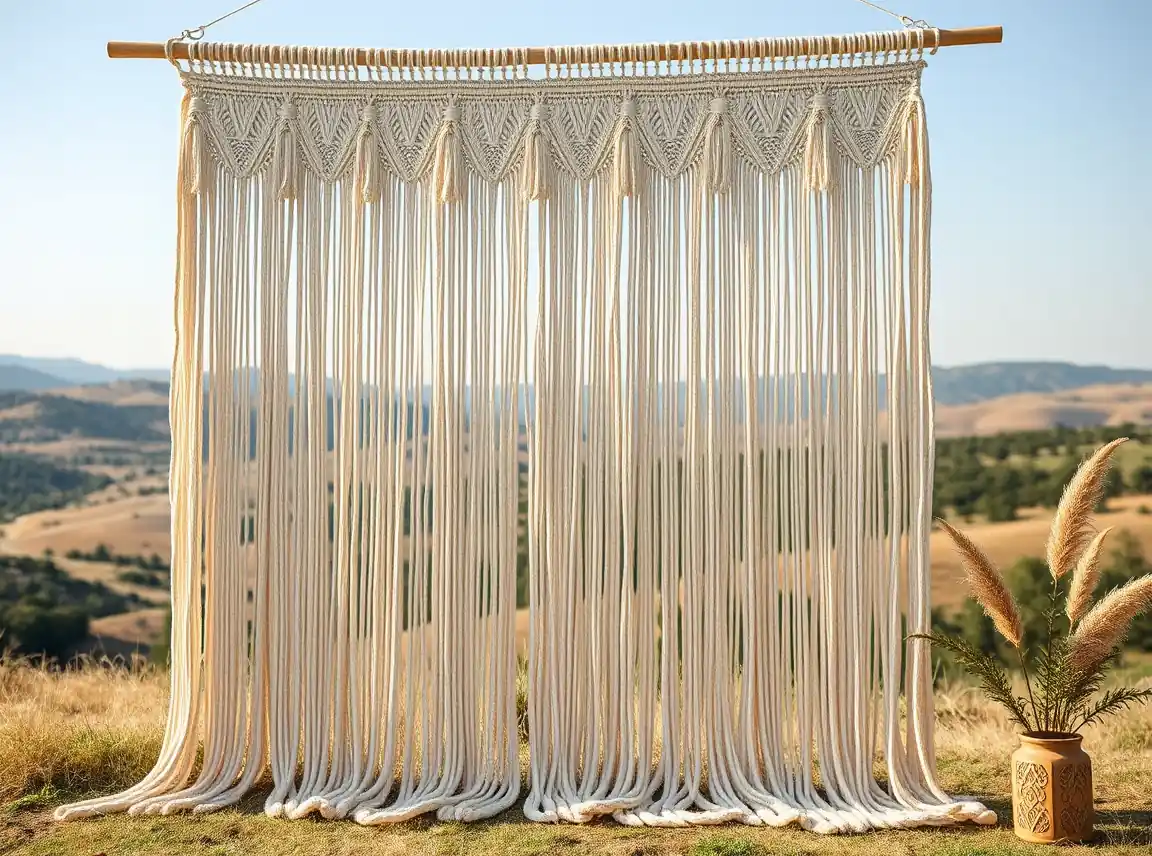
Macramé adds soft, boho texture to any space. Knot a large wall hanging or a simple curtain from cotton cord. Hang it behind the couple’s table or as a ceremony backdrop. It looks handmade in the best way.
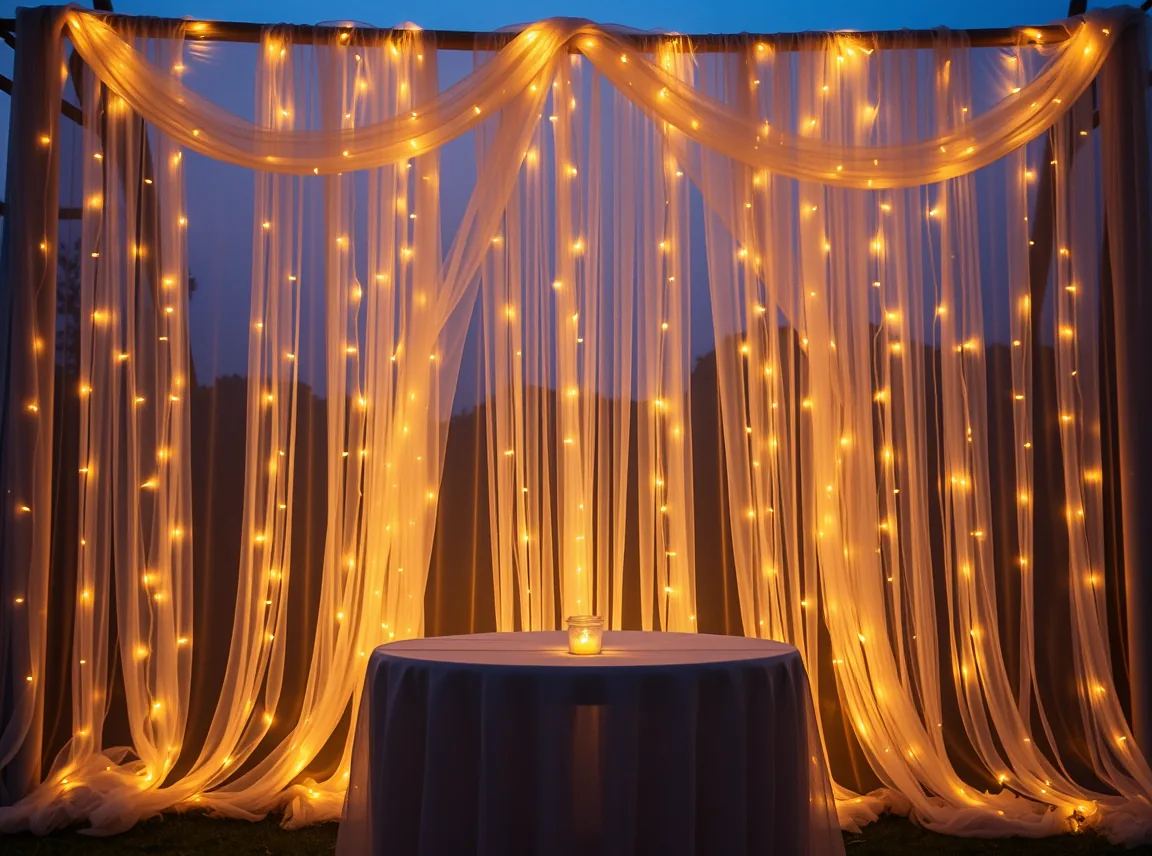
3. Create A Fairy Light And Tulle Cloud
Soft tulle and fairy lights make a dreamy, cloud-like backdrop. Drape yards of tulle and weave warm lights through it. Hang it behind the sweetheart table for a magical glow. It looks like something out of a fairy tale.
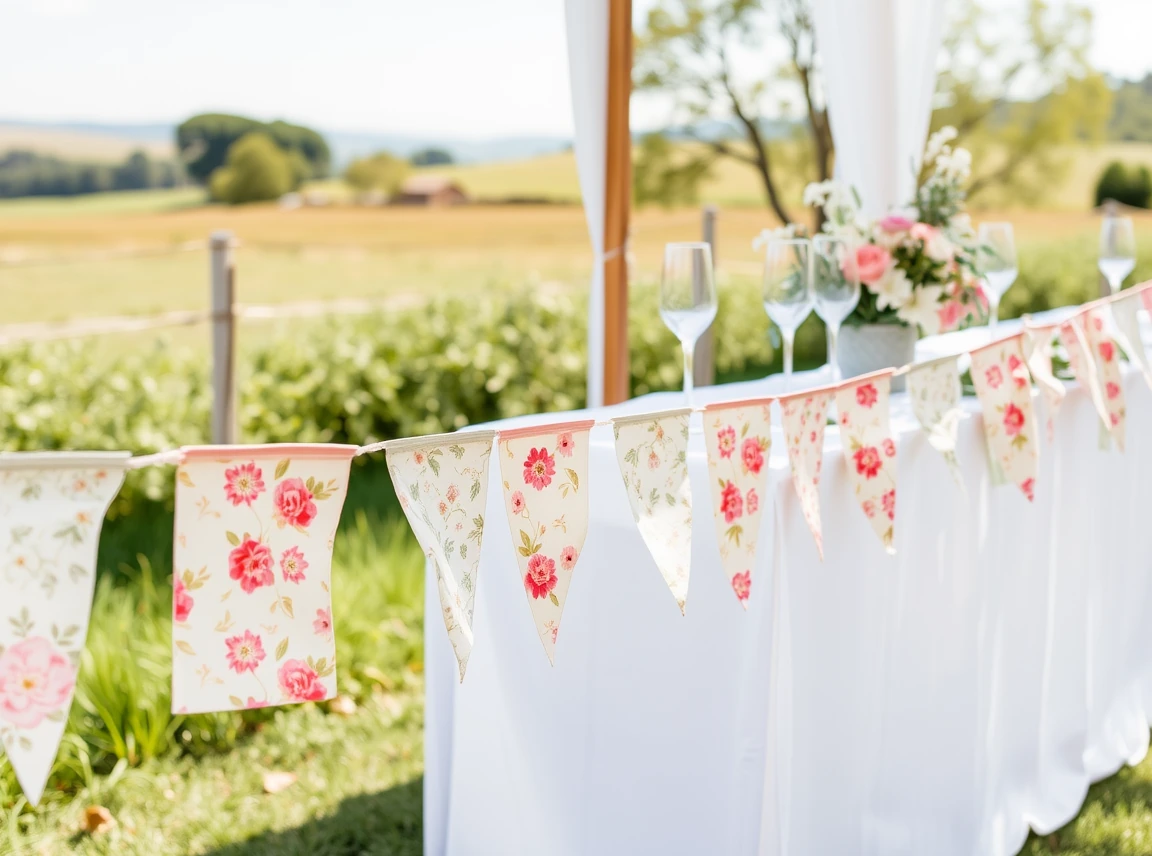
4. String A Fabric Bunting
Fabric bunting adds sweet, homemade charm. Cut triangles from pretty fabric and sew or glue them to a ribbon. String it along tables, walls, or the ceremony arch. It is cheerful, personal, and easy to make.
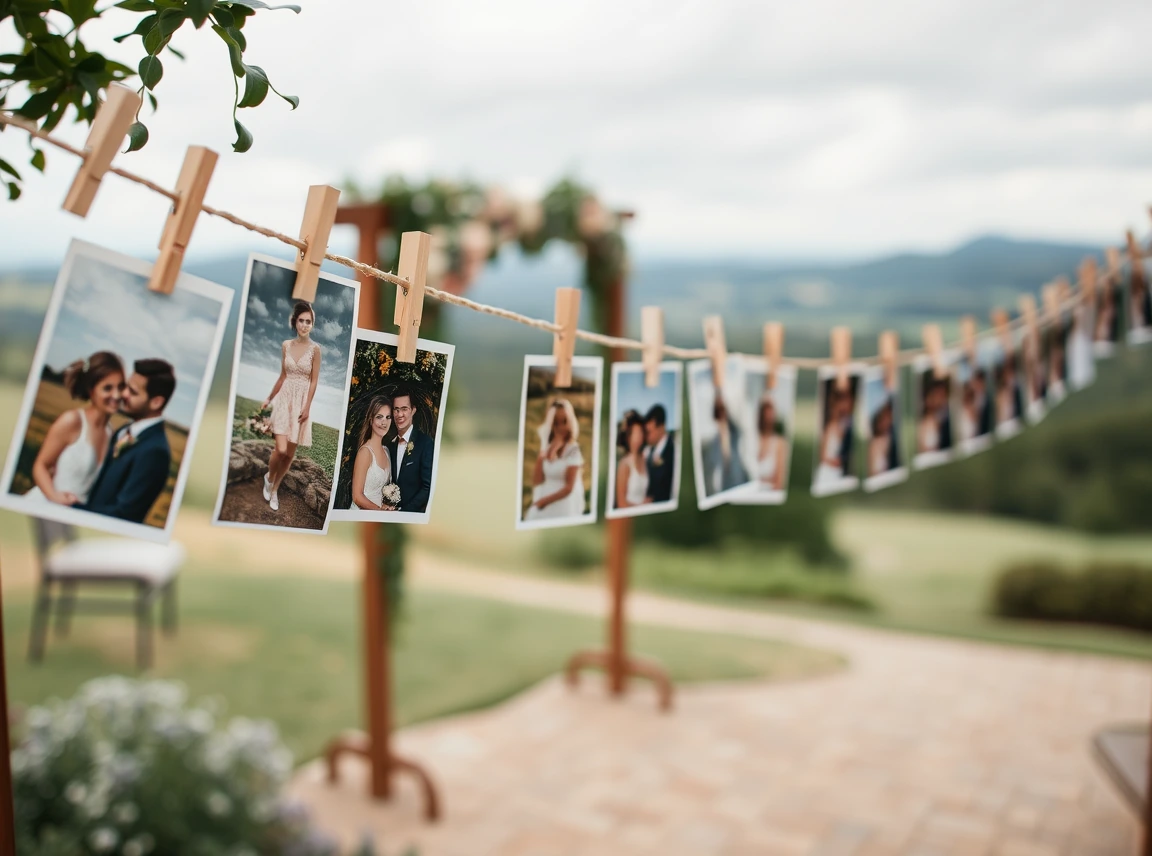
5. Hang A Photo Memory Garland
Share your love story with a photo garland. Clip printed photos of your journey along a string or ribbon. Hang it near the entrance or reception. Guests love seeing your memories, and it adds a heartfelt touch.
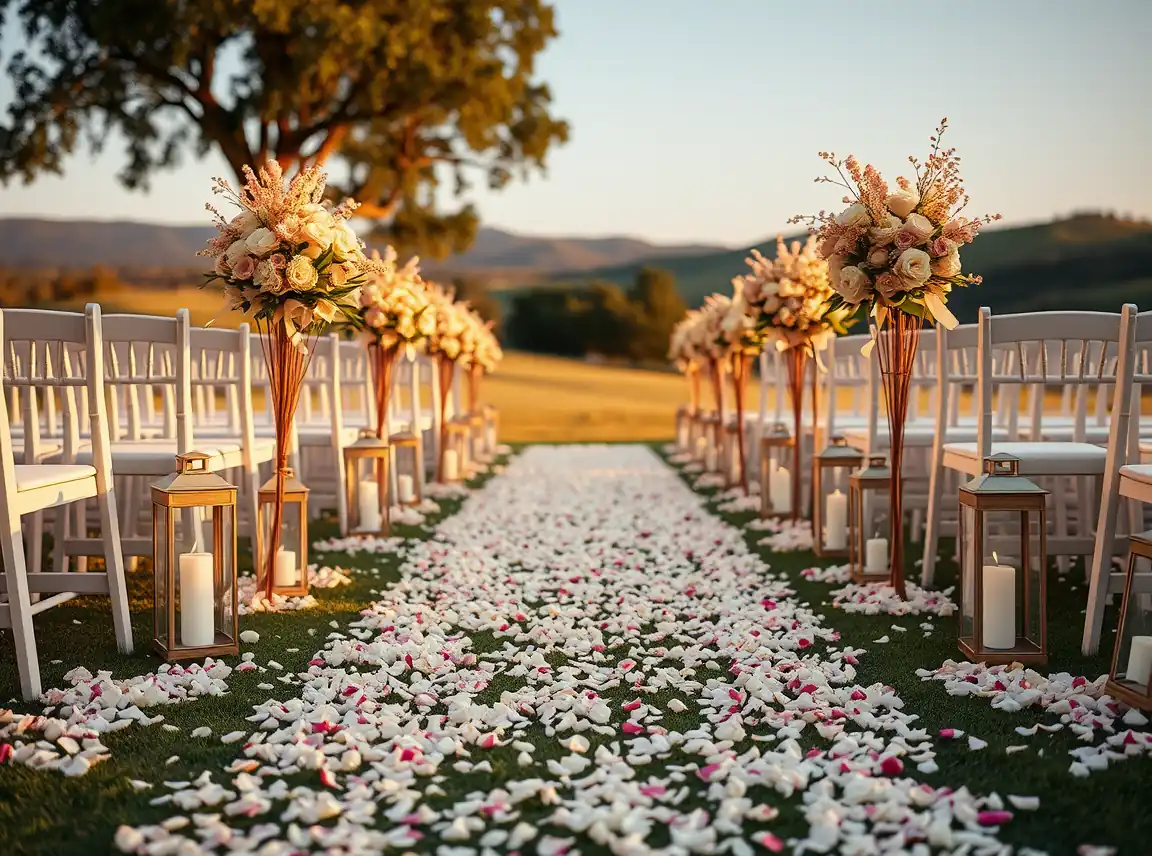
6. Lay A Petal Aisle Path
A petal-lined aisle feels romantic and dreamy. Scatter fresh or dried petals down the center of your walkway. Add a few lanterns or jars along the sides. It creates a beautiful path for your big moment.
Part 2: Handmade Table Details
Tables are where the little handmade touches shine. This second third covers small craft projects for your centerpieces and place settings. These details make guests feel special.
7. Make Bud Vases From Bottles
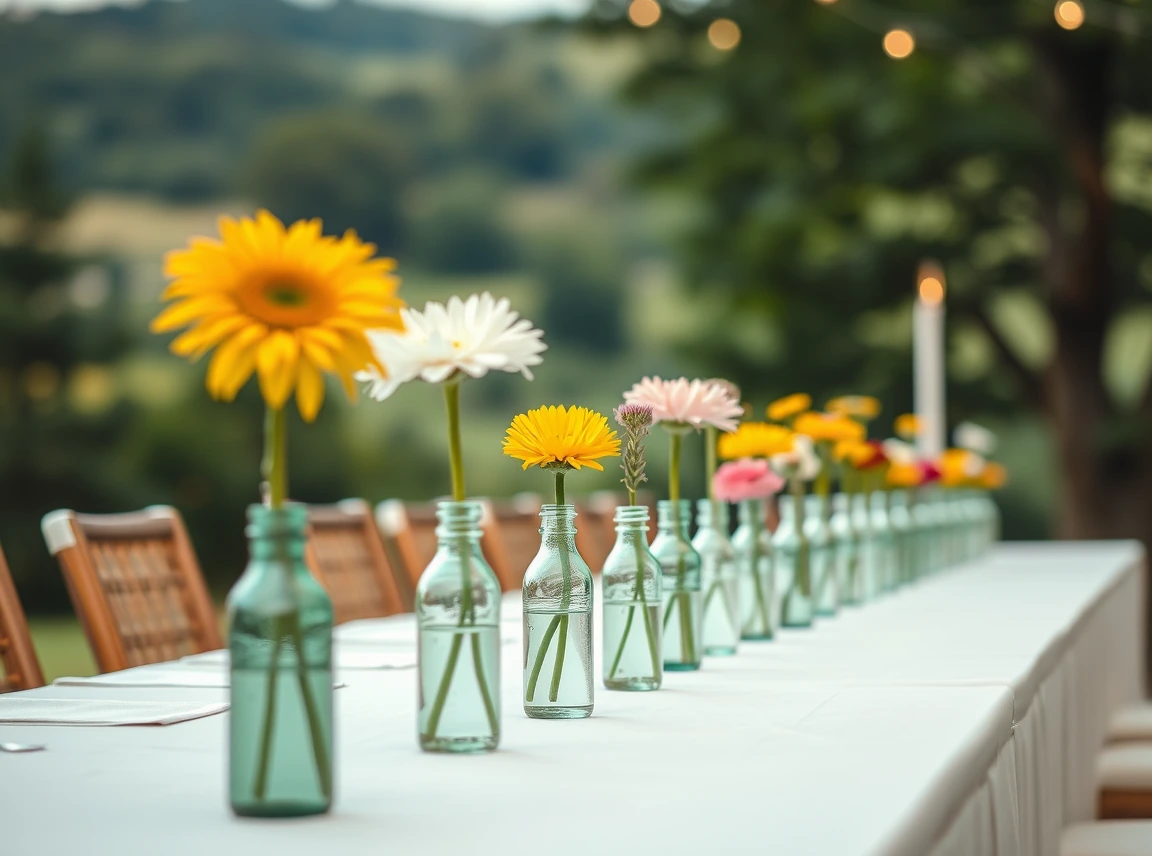
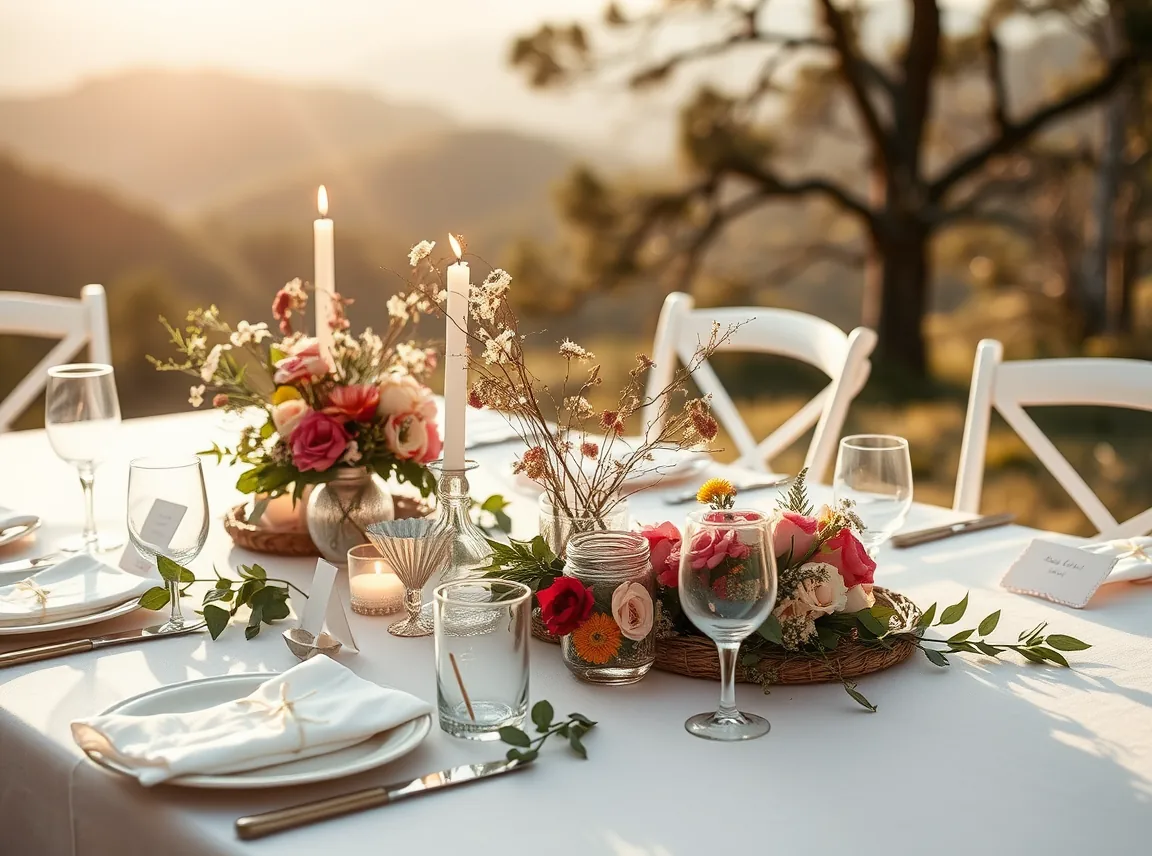
Save glass bottles and jars to make sweet bud vases. Peel off the labels, then add a single stem to each. Group a few down the center of the table. Their simple, collected charm looks effortless and dreamy.
8. Paint Jar Candle Holders
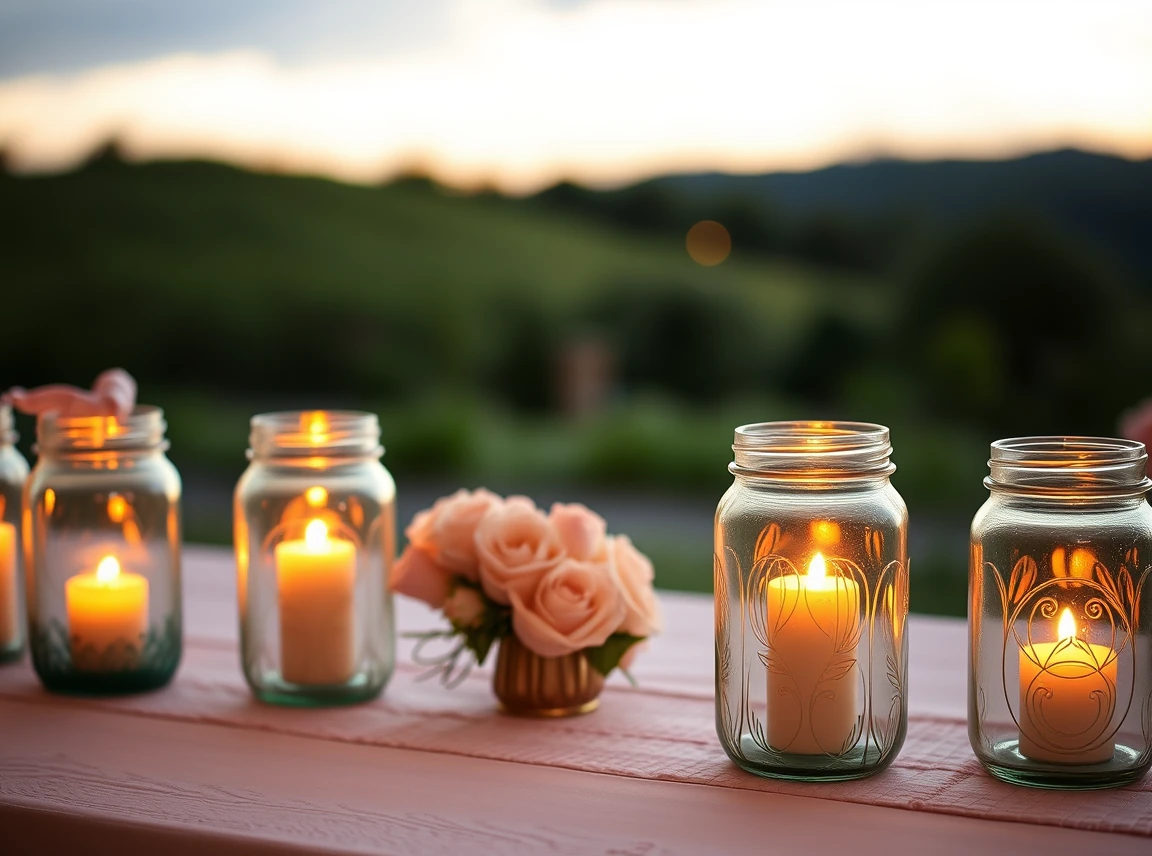
Turn plain jars into pretty candle holders. Paint them in your colors, or frost them for a soft glow. Pop a votive or fairy lights inside. They cast a warm, romantic light across the tables.
9. Dry Your Own Flowers
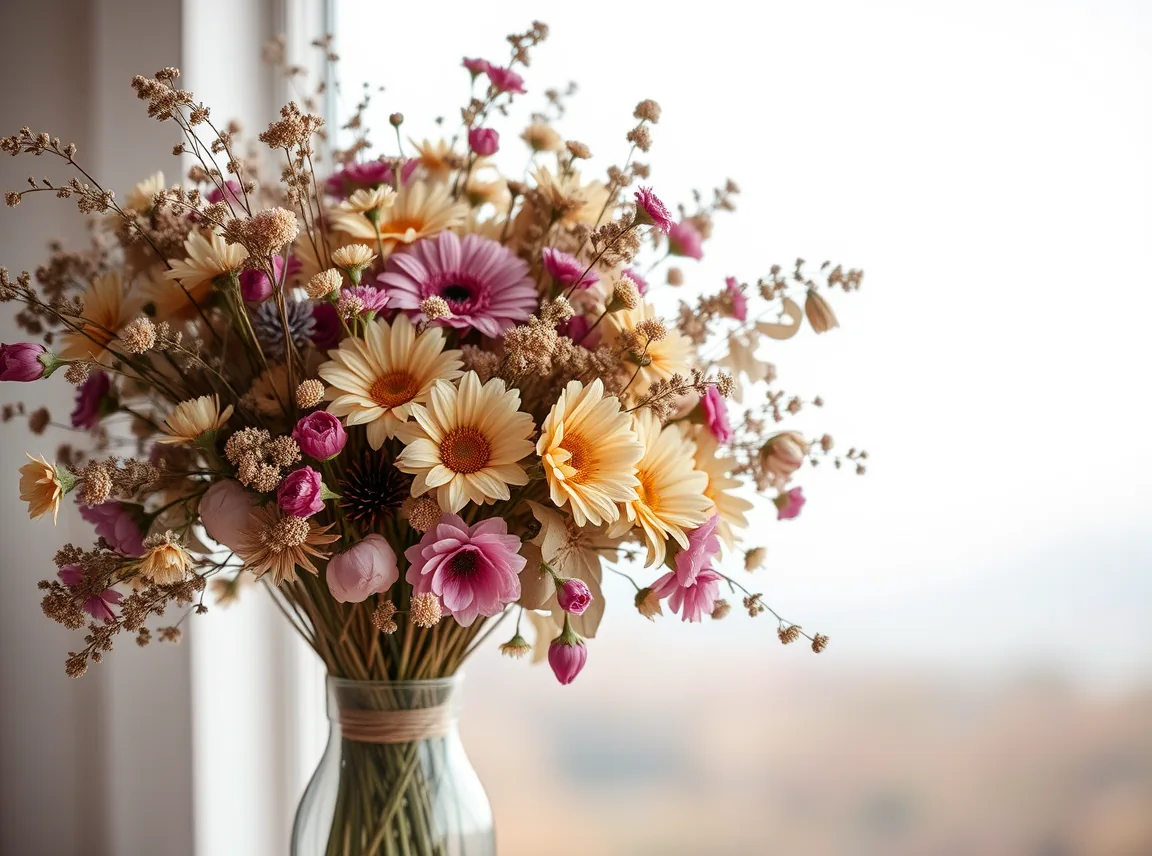
Dried flowers are dreamy and last forever. Hang blooms upside down to dry them a few weeks before the wedding. Use them in centerpieces, bouquets, and place settings. They add a soft, romantic, earthy feel. Dried stems fit right into a biophilic design look.
10. Press Flowers For Place Cards
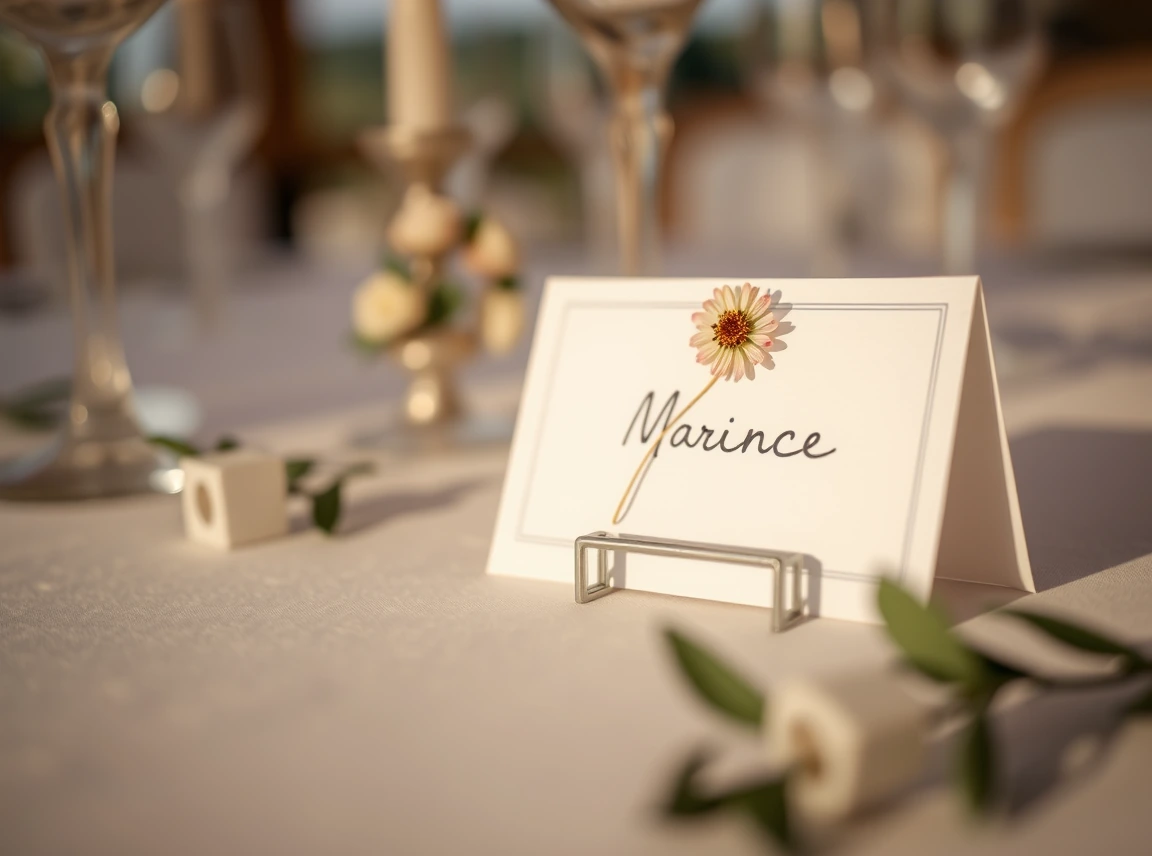
Pressed flowers make place cards feel special. Press small blooms in a heavy book for a week or two. Glue one onto each card with your guest’s name. These tiny details feel thoughtful and dreamy.
11. Cut Wooden Slice Signs
Wooden slices add rustic, natural charm. Use them as chargers, table numbers, or small signs. Add lettering or a sprig of greenery on top. They bring a warm, earthy feel to your tables. Get ideas from these wood decor tips.

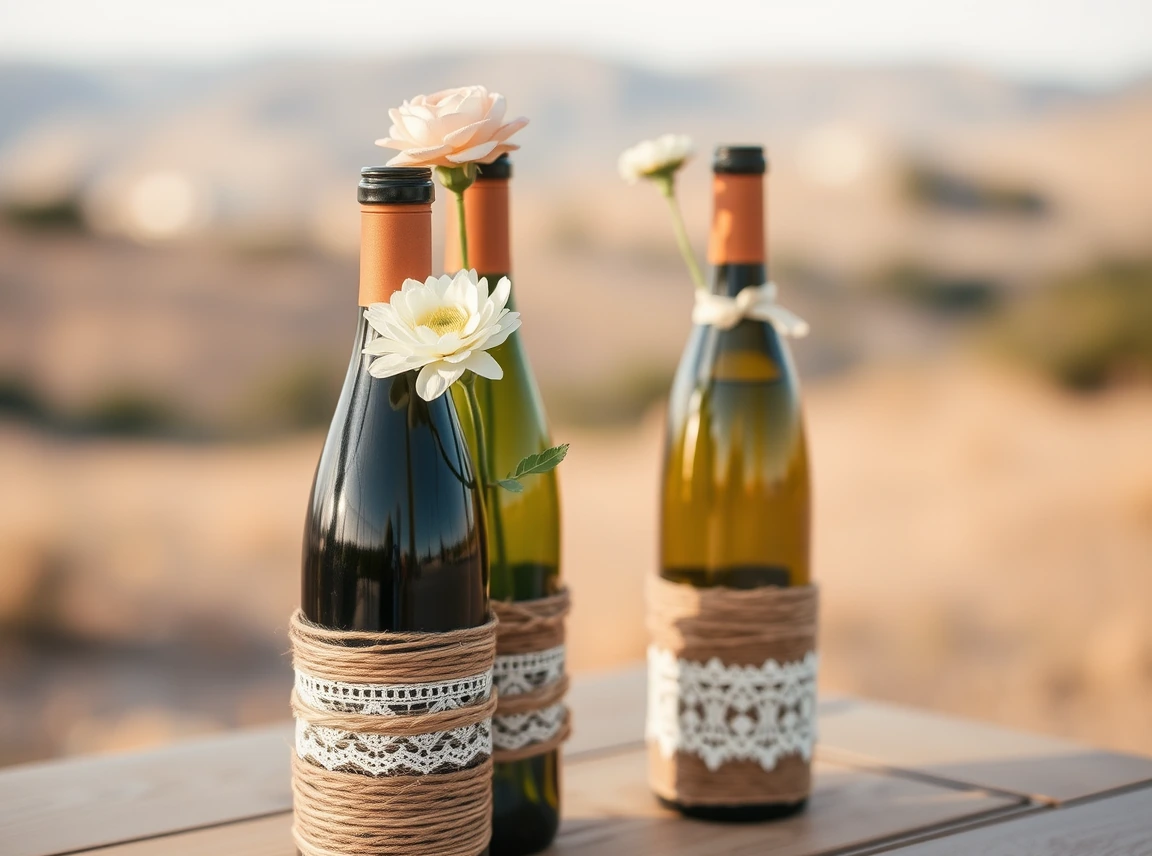
12. Wrap Wine Bottle Centerpieces
Empty wine bottles become elegant centerpieces. Wrap them in twine, lace, or paint for a custom look. Add a single flower or a taper candle to the top. They are easy, cheap, and pretty.
Part 3: Personal, Dreamy Touches
You are almost there. This last third adds the personal details that make your day feel like you. These little touches carry the most heart.
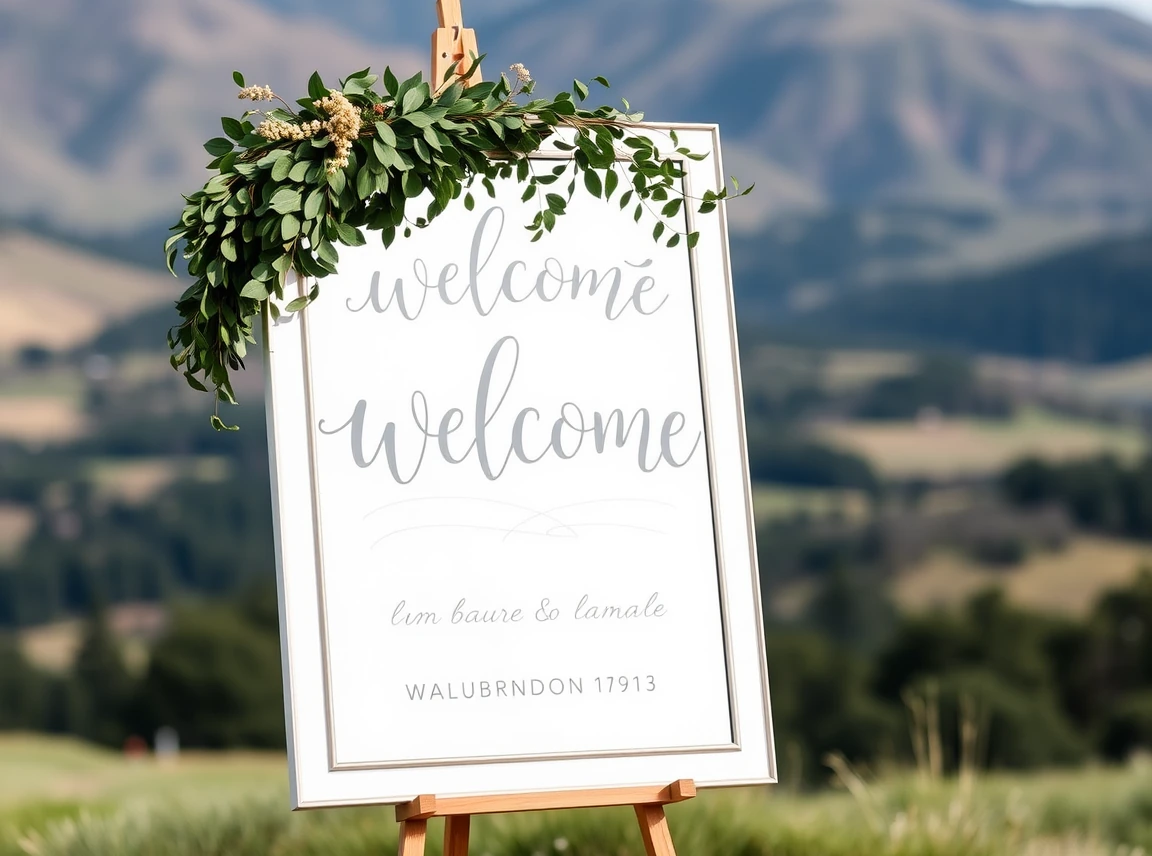
13. Hand-Letter Your Signs
Handmade signs add a personal, artful touch. Letter a welcome sign, a seating chart, or fun quotes on wood, mirror, or canvas. Use paint pens or stickers if you are new to lettering. Your handwriting makes it truly yours. A mirror sign looks stunning, so check these mirror ideas.
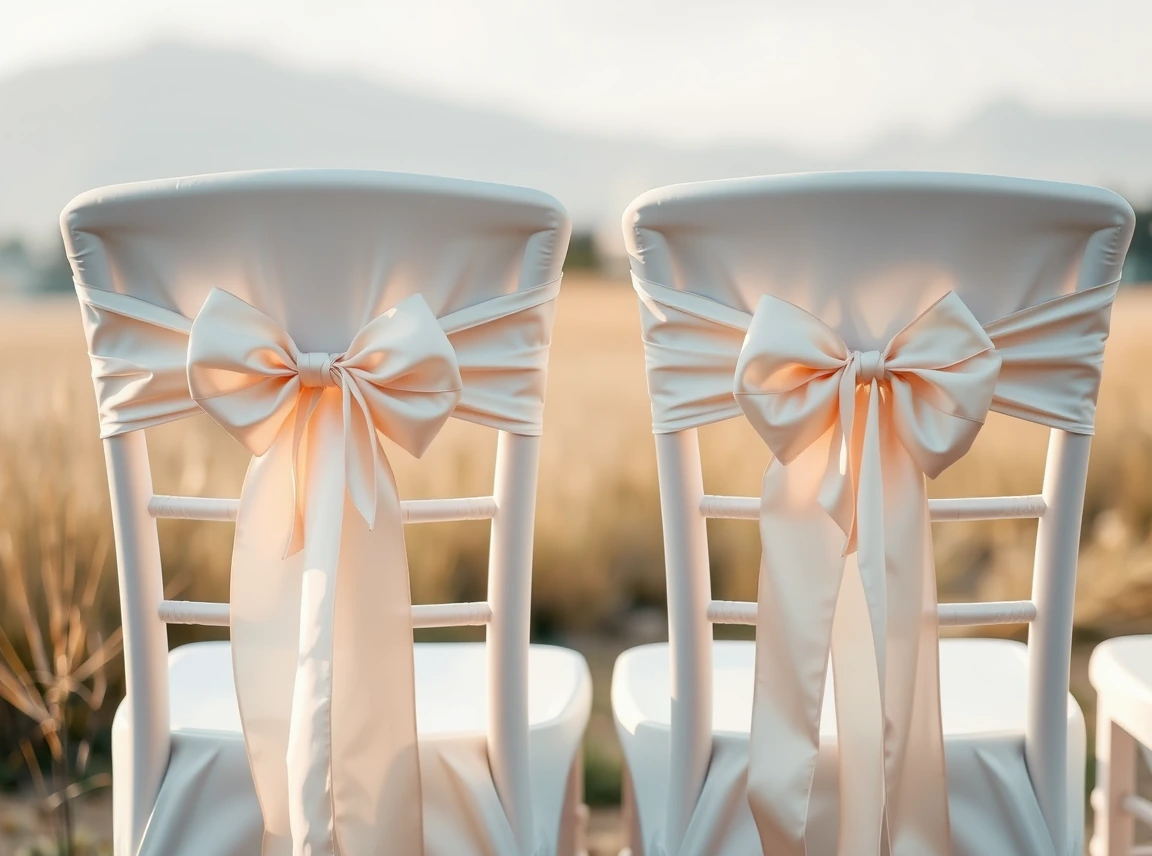
14. Tie On Ribbons And Bows
Bows are sweet, trendy, and easy. Tie ribbons on chair backs, bouquets, and signs. Use flowing silk ribbon for a soft, dreamy look. These little bows add romance everywhere.
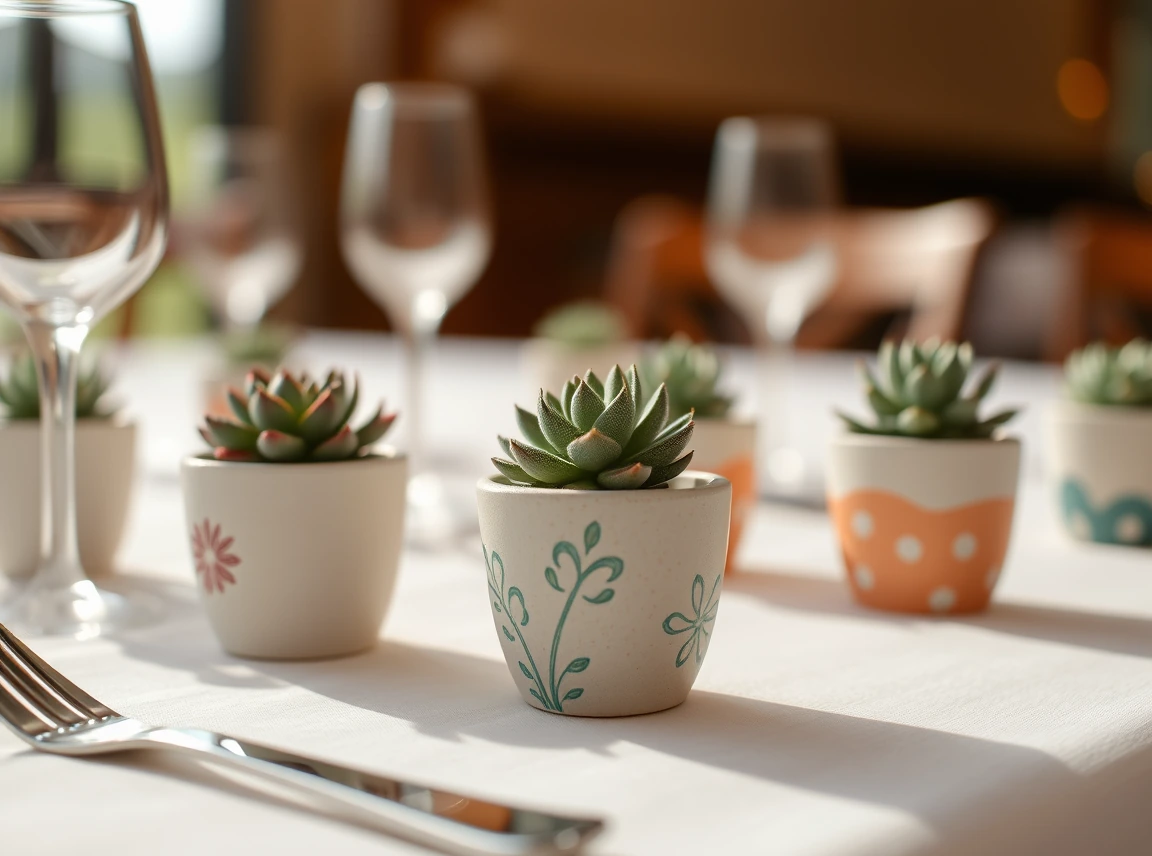
15. Make Painted Pot Favors
Small potted plants make lovely favors guests can keep. Paint little pots in your colors and add a tiny succulent or herb. Set one at each place setting with a name tag. They double as decor and a sweet gift.
16. Add Wax Seal Details
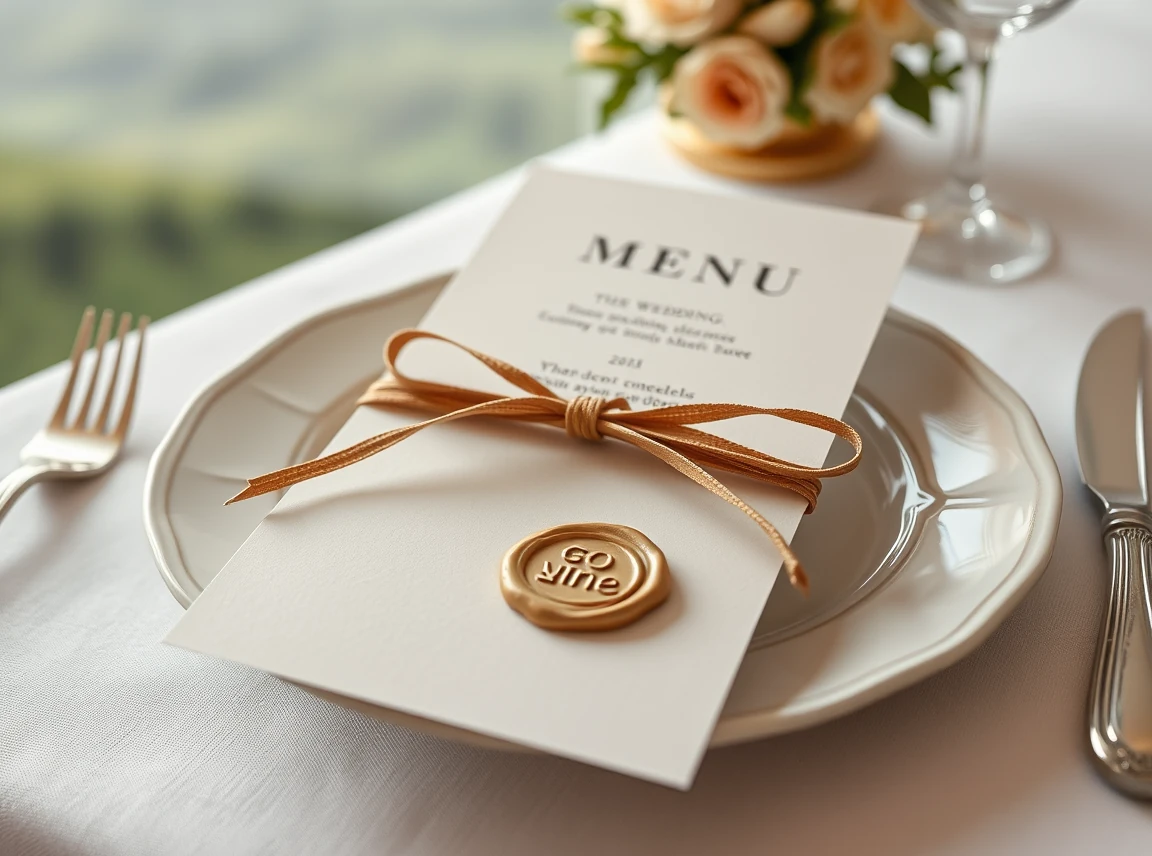
Wax seals make your stationery feel fancy and old-world. Add them to invitations, menus, or napkin ties. Pick a stamp with your initials or a simple design. These tiny details feel dreamy and refined.
17. DIY A Cake Stand And Topper
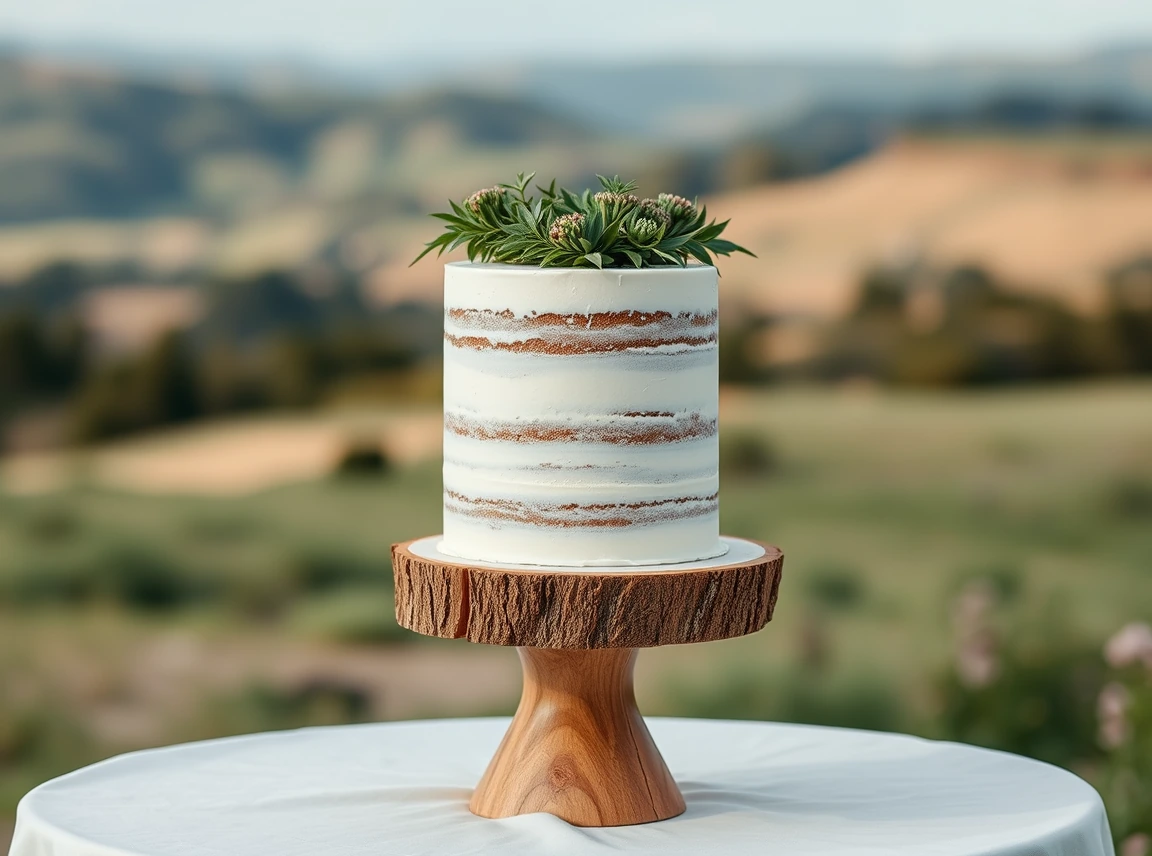
Make your cake the star with handmade details. Build a rustic cake stand from a wood slice, or dress up a plain one with ribbon. Craft a topper from letters, greenery, or wire. It gives your cake a personal, dreamy finish.
18. Craft A Keepsake Guest Book
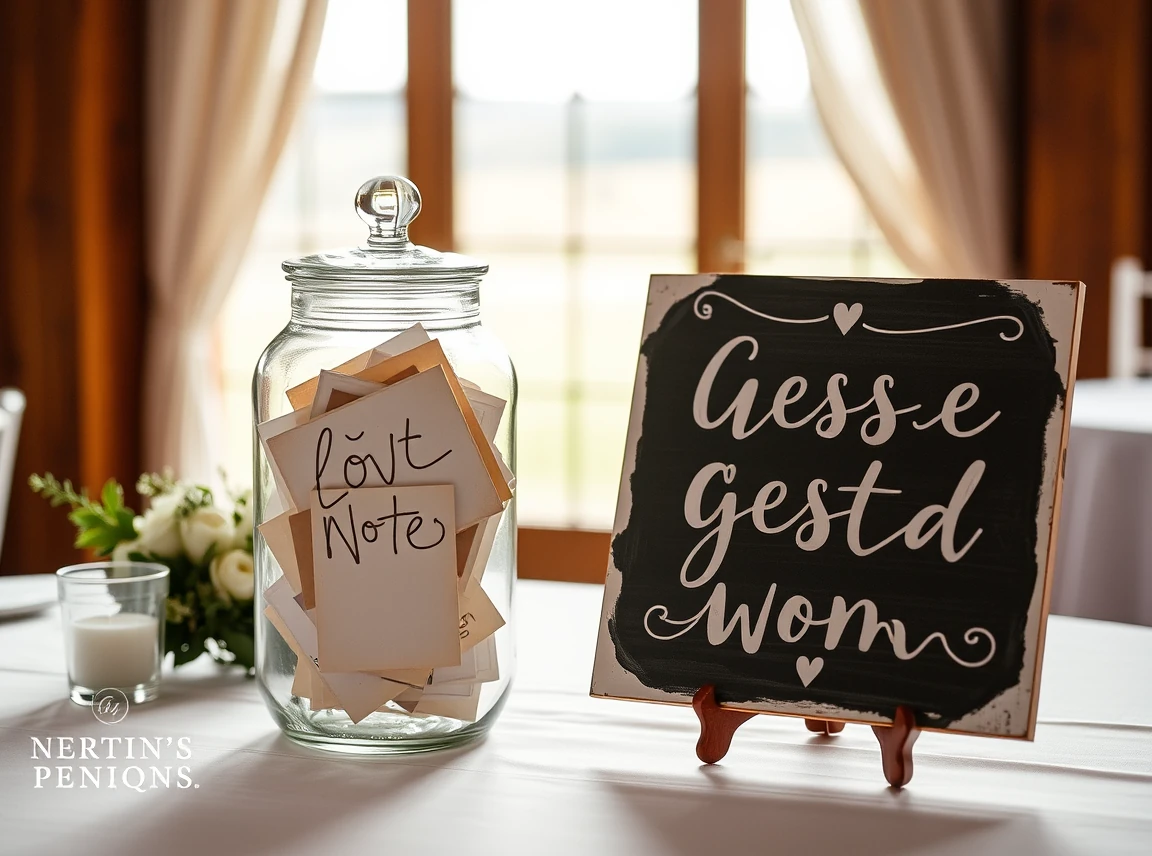
Skip the plain book for something you will treasure. Try a jar for written notes, a signed platter, or a painted board. Guests leave their wishes in a fun, personal way. You keep it as art in your home after. Plan your look with a mood board first.
Your DIY Wedding Toolkit
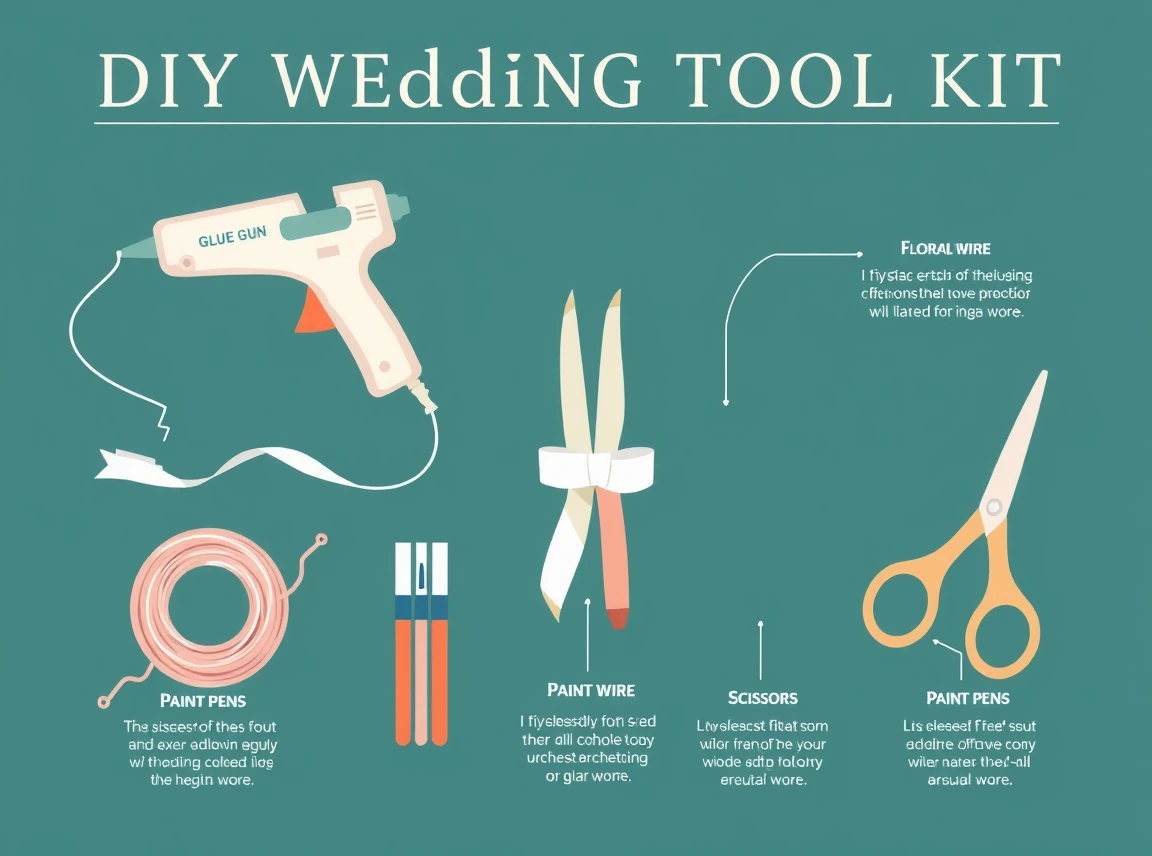
Before you start crafting, gather a few basic supplies. These handle almost every project on this list.
| Tool Or Material | Used For |
|---|---|
| Hot glue gun | Paper flowers, bunting, signs |
| Floral wire and tape | Bouquets, arches, toppers |
| Ribbon and twine | Bows, bottles, favors |
| Paint and paint pens | Signs, jars, pots |
| Scissors and craft knife | Cutting fabric and paper |
DIY Project Difficulty Guide
Not sure where to start? This chart shows how tricky and time-consuming each type of project is.
| Project | Difficulty | Time Needed |
|---|---|---|
| Bud vases and bottle centerpieces | Easy | 1 to 2 hours |
| Bunting and ribbon details | Easy | 2 to 3 hours |
| Pressed and dried flowers | Easy | Plan weeks ahead |
| Hand-lettered signs | Medium | 2 to 4 hours |
| Paper flower backdrop | Harder | A full weekend |
Start Your DIY Early
The biggest DIY mistake is waiting too long. Give yourself plenty of time so it stays fun, not stressful. Some projects, like drying flowers, need weeks of lead time.
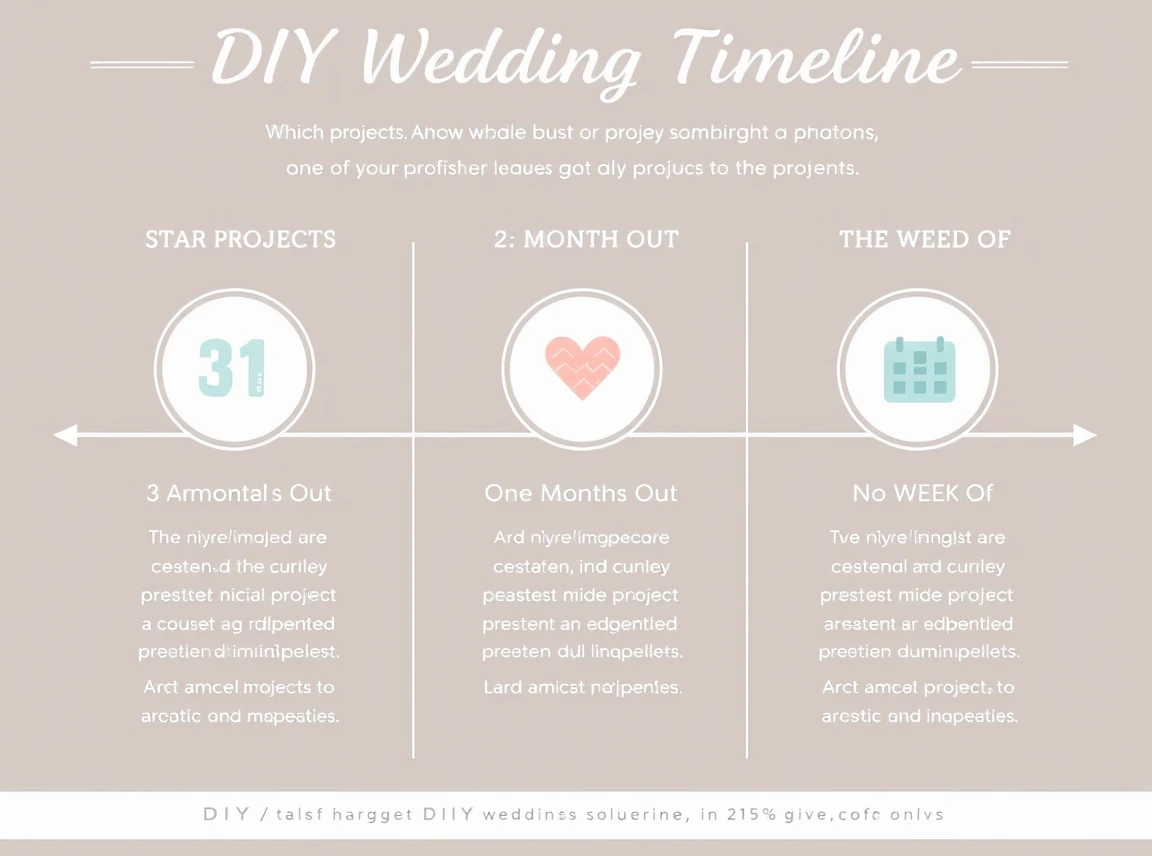
A Simple DIY Timeline
Start big projects like backdrops two to three months out. Make signs and centerpieces about a month before. Save quick tasks, like tying bows, for the week of the wedding. Spacing it out keeps you calm and happy.
Why Personal Touches Make Your Day
Handmade details do more than save money. They make your day feel truly yours. Personalized details are the thing most likely to make a wedding memorable for couples, according to The Knot Worldwide’s 2025 Global Wedding Report. Your DIY touches are what guests will remember most.
DIY Wedding Mistakes To Skip
A few common slip-ups can turn DIY stressful. Here is what to watch for.
- Starting too late. Give big projects weeks of lead time.
- Doing it all alone. Ask friends for a fun crafting day.
- Trying too many projects. Pick a few you love and do them well.
- Skipping a test run. Make one sample before the whole batch.
- Forgetting cleanup. Plan who packs up your decor after.
Frequently Asked Questions
What Are The Easiest DIY Wedding Decorations?
Bud vases from bottles, painted candle jars, fabric bunting, and ribbon bows are the easiest. They need few supplies and little skill. Start with these if you are new to crafting.
How Far In Advance Should I Start DIY Wedding Decor?
Start big projects like backdrops two to three months out. Make signs and centerpieces about a month before. Dried and pressed flowers need a few weeks to prepare. Save quick tasks for the week of.
Are DIY Wedding Decorations Worth It?
Yes, if you have the time and enjoy crafting. They add a personal, one-of-a-kind touch guests remember. Just pick a few projects you love so it stays fun. Personal details are what make a day memorable.
How Do I Make My Wedding Feel Dreamy?
Use soft, romantic touches like fairy lights, tulle, dried flowers, and candles. Add handmade details and personal keepsakes. Keep colors soft and cohesive. The mix of glow and heart creates that dreamy feel.
What DIY Decorations Can I Keep After The Wedding?
Paper flowers, macramé, wooden signs, and painted pots all make lovely keepsakes. A guest book jar or signed board becomes home art. Choose projects you can enjoy in your home later.
Do I Need Crafting Skills To DIY My Wedding?
Not really. Many projects use simple tools like a glue gun, ribbon, and paint pens. Start with easy ideas and do a test run first. You will build confidence as you go.
How Do I DIY Wedding Decor Without Stress?
Start early, pick a few projects, and ask friends to help. Do a sample of each before making the whole batch. Space the work out over weeks. Planning ahead keeps it fun and calm.
Final Thoughts
DIY wedding decorations add heart, charm, and a dreamy feel that store-bought decor cannot match. Start with big backdrops, add handmade table details, then finish with personal touches you will treasure. Give yourself time, keep it simple, and enjoy the process.
Pick a few projects from this list and gather your supplies this week. Grab some friends, put on music, and craft a day that feels beautifully, dreamily yours.
Written by Chase Morgan, home decor writer at The Style Verge.