

Aesthetic fridge organization goals for 2026 focus on clean zones, matching containers, and fast daily access. A fridge looks better when each shelf has one purpose and food stays visible. I used this system at home, and it reduced wasted food because I could spot items in seconds.
I will be honest: my fridge used to embarrass me. Every time a friend opened it for a drink, I watched cans roll, leftovers hide behind milk jugs, and sauces multiply in the door. The turning point was realizing an aesthetic fridge is not about buying expensive organizers. It is about giving every single item a home and then actually putting things back. I spent one Saturday doing the full reset below, and the system has held for months with only a five minute tidy twice a week. If your fridge stresses you out, start with the zones. Everything else builds on that one habit.
Aesthetic Fridge Ideas
- Create 5 clear fridge zones
- Use matching clear bins for categories
- Add a “Eat First” front bin
- Keep a grab-and-go snack drawer
- Store drinks in one tight row
- Use a lazy Susan for sauces
- Place dairy in one stable shelf zone
- Use a produce box for berries
- Keep herbs fresh in a jar method
- Use a eggs tray for clean lines
- Stack deli items in slim containers
- Use small baskets for kids items
- Add fridge labels that stay simple
- Keep one shelf “Meal Prep Ready”
- Follow the final 2026 fridge reset rule
Create 5 Clear Fridge Zones
A 5-zone fridge setup looks clean because food stays grouped and easy to find. I used these zones: drinks, dairy, produce, leftovers, and sauces. This stopped random stacking and made each shelf feel organized. A zone system also helps everyone in the home put items back correctly. The fridge stays neat longer because every item has a “home.”
Here is how I mapped mine. Top shelf: leftovers and ready to eat food, because it is the first thing you see. Middle shelf: dairy, since the temperature is most stable there. Bottom shelf: raw meat and tall drinks. Door: condiments only, never milk or eggs, because the door swings through the biggest temperature changes. Crisper drawers: produce, sorted by what wilts fast. The mistake I made at first was creating too many zones, which just confused everyone. Five is the sweet spot. If you want the same zone logic outside the fridge, my pantry organization system uses the exact same grouping method.

Use Matching Clear Bins For Categories
Matching clear bins create instant “aesthetic” because the fridge looks uniform. I used the same bin style for snacks, produce, and deli items. Clear bins also help spot low stock fast. This keeps the fridge from looking crowded since items stay contained. Choose bins with straight edges for better stacking.
Measure before you buy, because this is where most people waste money. Standard fridge shelves are about 14 to 16 inches deep, so look for bins around 13 inches deep and 6 inches wide. I bought a 6 pack of clear bins for about 25 dollars and that covered snacks, deli, and produce. Straight sided bins stack better than tapered ones, and bins with small handles are easier to pull out when your hands are full. One more tip: leave one bin empty on purpose. That empty bin is your landing zone for groceries, and it stops new food from piling randomly on shelves.
Add A “Eat First” Front Bin
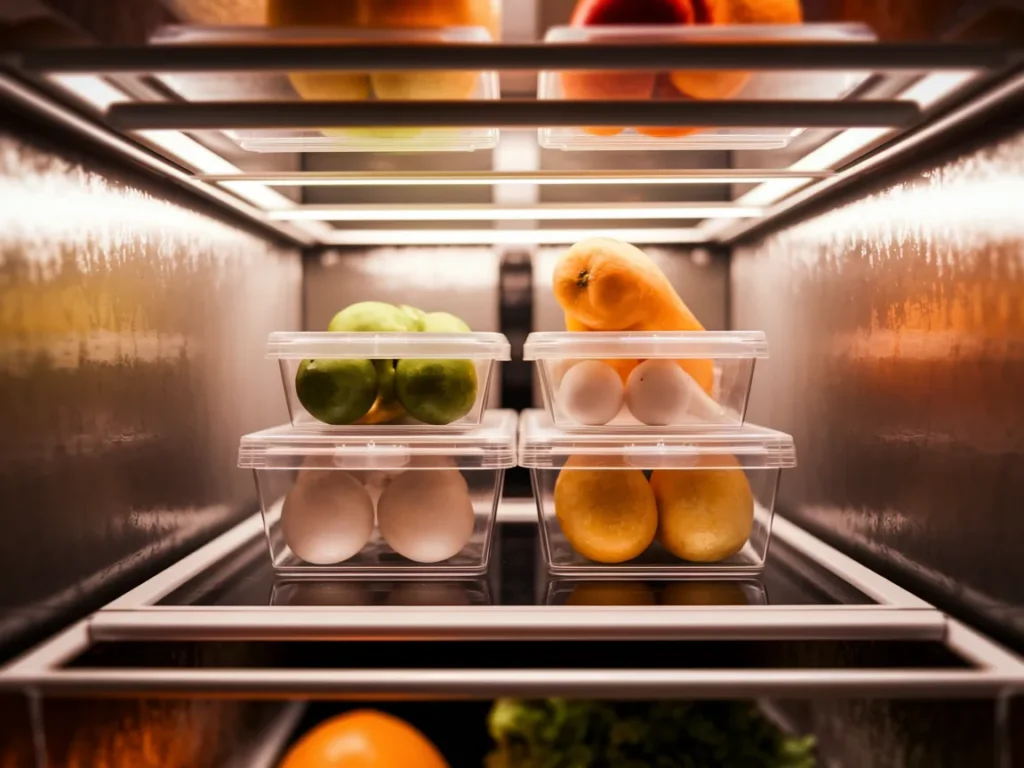
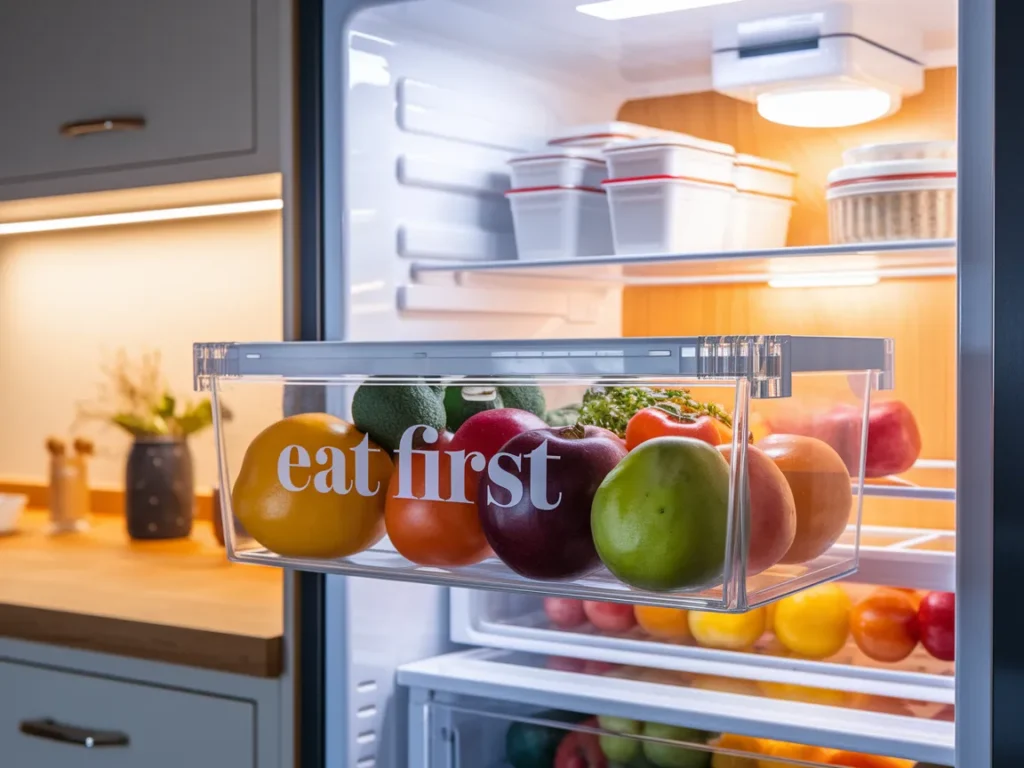
An “Eat First” bin reduces food waste and keeps the fridge tidy. I placed it at the front on eye level and used it for items that expire soon. This made daily decisions faster because I did not need to search. The bin also kept older food from getting lost behind new groceries.
This single bin cut my food waste more than anything else I tried. It sits front and center at eye level, and anything inside it has to be eaten within two days. Yogurt near its date, half an onion, leftover pizza, the last scoop of hummus. I check it every morning while the coffee brews, which takes ten seconds. The rule that makes it work: when you unload groceries, older items move INTO this bin and new items go behind. First in, first out, no exceptions. My family actually follows it because the bin is labeled and impossible to miss.
Keep A Grab-And-Go Snack Drawer
A snack drawer stays aesthetic when snacks sit in rows, not piles. I used small containers for bars, yogurt, and fruit cups. This made the fridge look clean and made snacks easier for quick picks. It also helped prevent messy packaging spread across shelves.
The trick is decanting. Boxes of granola bars and cracker sleeves look messy, but the bars themselves lined up in rows look intentional. I use small rectangular containers inside the drawer so bars stand upright like files. Yogurt cups go in a second container, cheese sticks in a third. Restock it once a week, usually Sunday night, and it takes five minutes. For kids, keep this drawer on a low shelf they can reach. Mine stopped asking me for snacks entirely, which alone was worth the effort.

Store Drinks In One Tight Row
A drink row looks neat because bottles stay aligned and space stays controlled. I stored water, soda, and juice in one shelf area using a slim drink organizer. This stopped bottles from rolling around and blocking other items. A tight row also helps track what needs restocking.
Cans rolling around the shelf drove me crazy until I switched to a single tight row with a cheap can dispenser. The dispenser was about 12 dollars and holds ten cans, gravity fed, so the cold one is always next. Bottles go behind the cans in height order, tallest in back. I keep only one row deep for drinks because anything stacked two deep becomes invisible and gets forgotten. If your fridge door has tall bottle slots, use those for wine and juice, and keep the shelf row for daily drinks only.

Use A Lazy Susan For Sauces
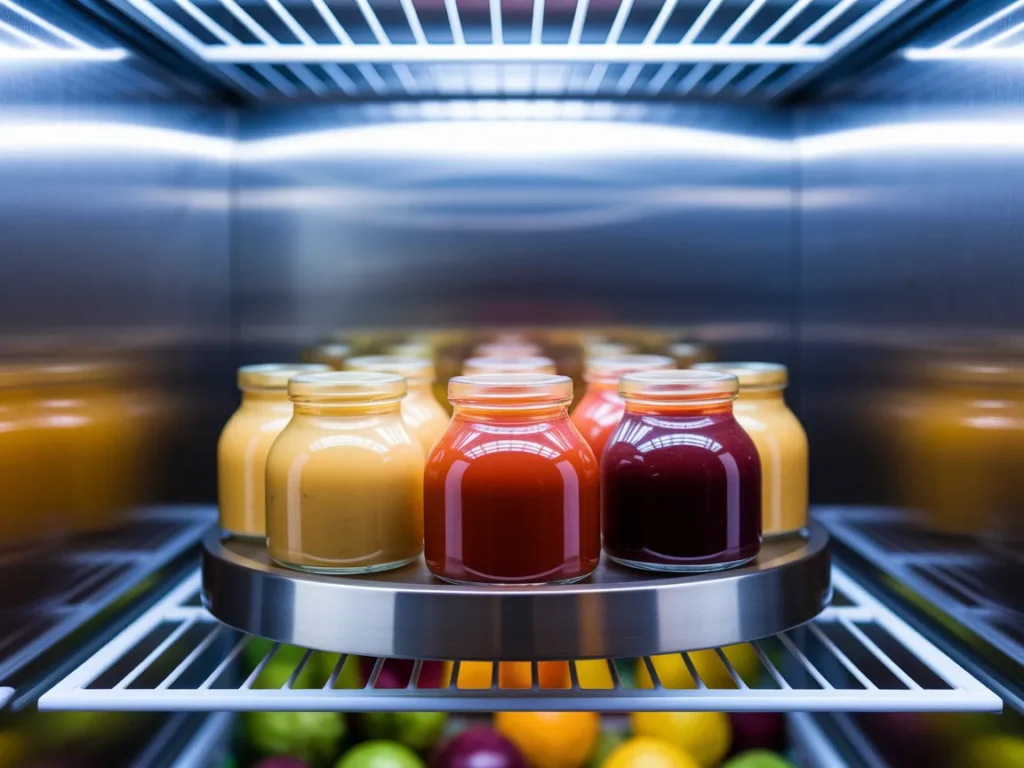
A lazy Susan keeps sauces clean and easy to access. I used it for ketchup, mayo, dressing, and hot sauce. This stopped sauce bottles from falling and leaking. Spinning trays also reduce “hidden items” at the back of the fridge.
Get a turntable with a lip around the edge, about 10 to 12 inches wide. The lip matters because bottles tip when you spin, and nobody wants soy sauce on the shelf. Mine holds ketchup, mayo, mustard, two dressings, and hot sauce with room to spare. Group them by use: everyday sauces front, specialty ones back. Wipe the turntable once a month, because sticky rings build up fast. This one purchase ended the archaeological dig through the back of my fridge every time I needed mustard.
Place Dairy In One Stable Shelf Zone
Dairy looks better when it stays in one shelf zone with clean spacing. I grouped milk, butter, cheese, and yogurt together. This made the fridge feel structured and reduced random clutter. I avoided the fridge door for milk because door temps change more often.
Here is the science bit that changed how I store dairy. The door is the warmest, most unstable spot in the fridge, swinging between temperatures every time it opens. Milk, yogurt, and soft cheese belong on the middle shelf toward the back, where the temperature barely moves. Butter can live in a covered butter keeper in the same zone. Hard cheese is more forgiving and does fine near the front of the shelf. Since I moved my milk off the door, it stays fresh about three days longer, which I did not expect but will absolutely take.

Use A Produce Box For Berries
Berries stay cleaner when stored in a breathable produce box. I used a clear container with airflow and lined it with a dry paper towel. This helped reduce moisture and kept berries visible. It also made the shelf look more organized than loose clamshell packs.
Two rules for berries: do not wash them before storing, and give them airflow. I line a clear container with a dry paper towel, spread the berries in a single layer, and leave the lid slightly vented. The paper towel absorbs the moisture that causes mold, and the single layer stops them from crushing each other. This method keeps strawberries good for five to six days instead of two. Check the box daily and pull any berry that starts to soften, because one moldy berry really does spoil the bunch.

Keep Herbs Fresh In A Jar Method
Herbs look prettier and last longer in a jar method. I trimmed stems and placed herbs upright in a small jar with water, then loosely covered with a bag. This kept herbs from wilting fast and made the fridge feel fresh and styled.
Treat parsley, cilantro, and dill like fresh flowers. Trim a half inch off the stems, stand them upright in a jar with an inch of water, and loosely cover the tops with a produce bag. They last two full weeks this way, which still surprises me. Change the water every three days or it gets slimy. One exception: basil hates the cold and turns black in the fridge, so keep basil on the counter in water instead. I learned that one the hard way after ruining a beautiful bunch.

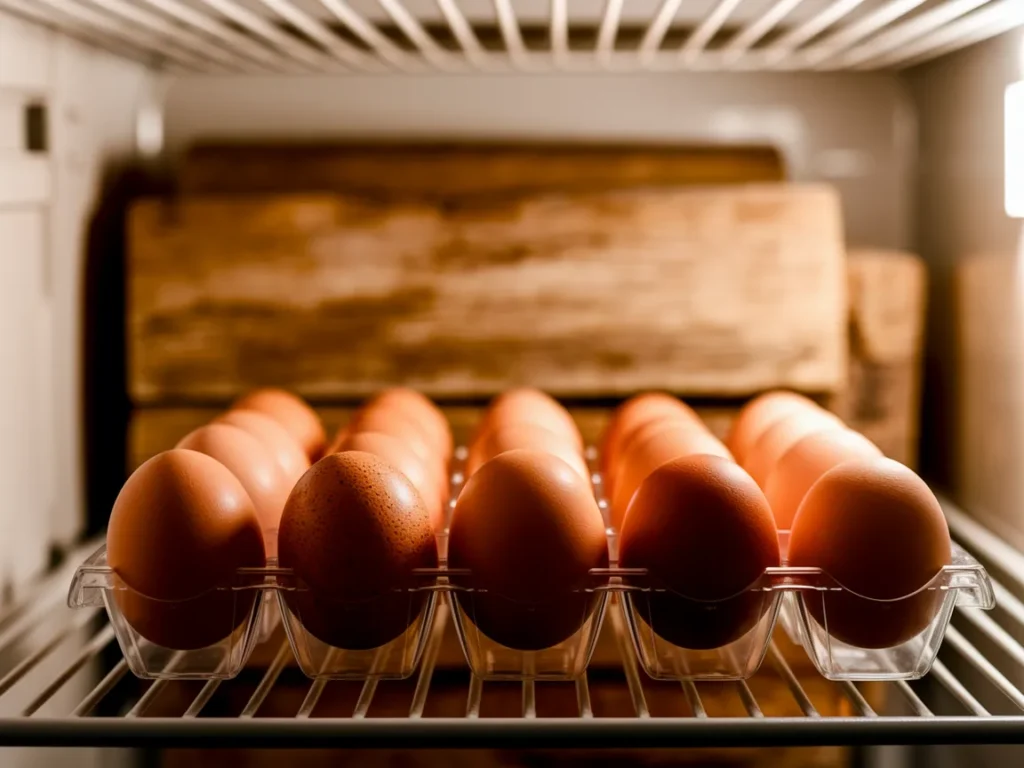
Use An Eggs Tray For Clean Lines
An egg tray improves the fridge look because cartons stop crowding shelves. I used a clear tray that holds eggs in straight rows. This saved space and made the shelf look cleaner. It also helped me see when eggs were running low.
Ditch the carton and move eggs into a clear tray. Cartons are bulky, they hide how many eggs you have left, and the flaps always catch on the shelf above. A clear tray that holds a dozen eggs takes up half the space and you can see your count at a glance. Keep the tray on a middle shelf, not the door, because the constant swinging and temperature shifts make eggs age faster. I buy the stackable kind, so when I have two dozen, one tray sits neatly on top of the other.
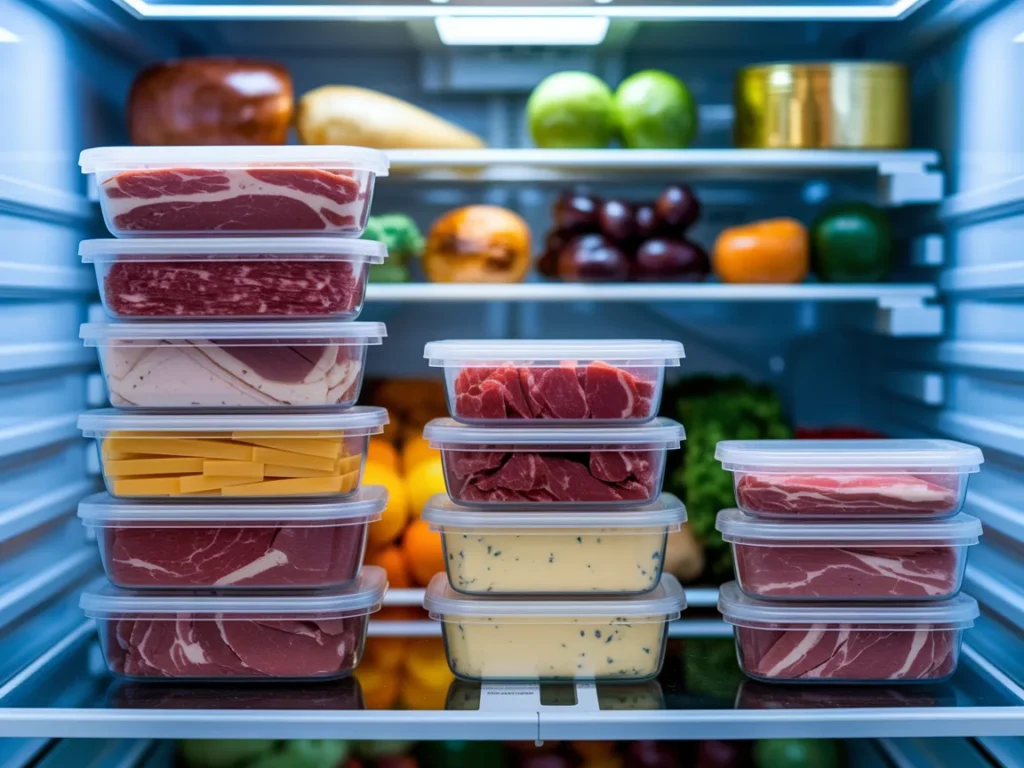
Stack Deli Items In Slim Containers
Slim containers stop deli packs from sliding and stacking messy. I moved sliced meats and cheese into flat, sealed boxes. This created clean layers and freed space for other items. Slim stacks also look better than mixed packaging.
Deli meat in its original packaging always ends up as a sliding, leaking mess. I transfer sliced turkey, ham, and cheese into flat stackable containers the same day I buy them. They stack like files, nothing slides, and I can see exactly what I have. Write the date on a small piece of masking tape on each lid. Deli meat is good for three to five days once opened, and the date label stops the guessing game. These slim containers also work great for bacon and hot dogs.
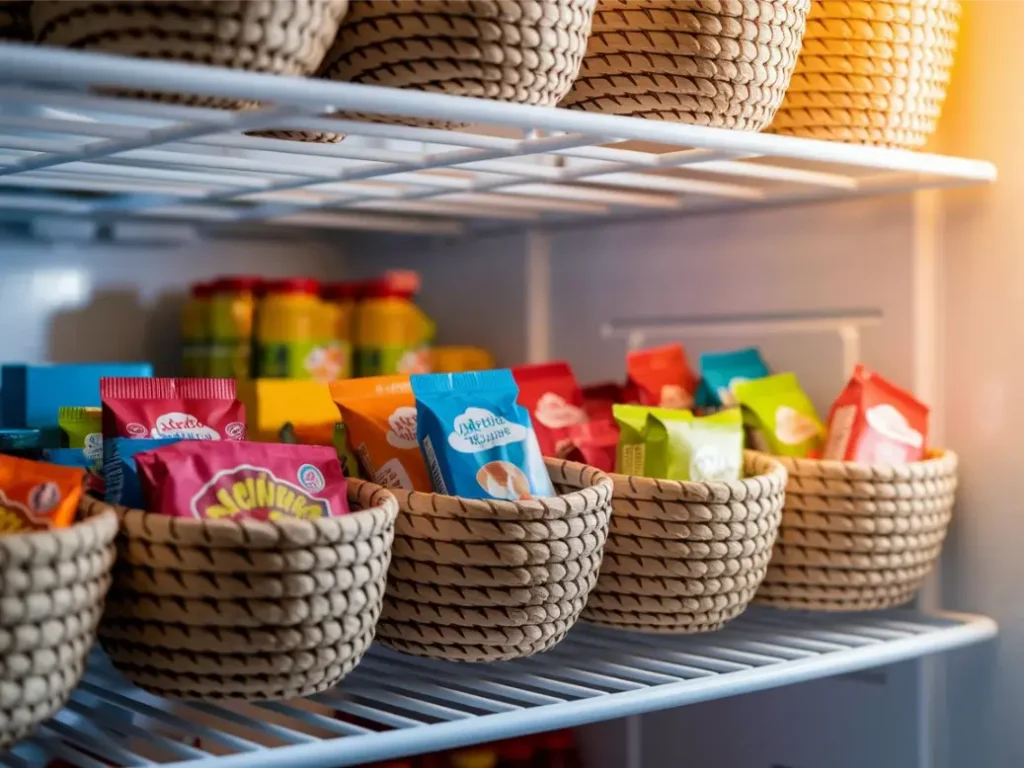
Use Small Baskets For Kids Items
Small baskets keep kids items grouped and easy to grab. I used one basket for juice boxes and one for small snacks. This reduced spills and messy shelf piles. It also made restocking simple because one basket tells you what needs refills.
Put the kids basket on the lowest shelf they can reach, and stock it with parent approved items only: juice boxes, string cheese, fruit pouches, small yogurts. When everything they are allowed to grab lives in one basket, you stop getting asked for snacks every twenty minutes and they stop pulling random things off shelves. I use one basket per kid to avoid fights, which sounds excessive until you have watched two children argue over the last juice box. Refill the baskets during your Sunday restock.
Add Fridge Labels That Stay Simple
Simple labels improve both function and style. I used short labels like “Snacks,” “Sauces,” and “Eat First.” This helped everyone follow the system. I avoided large bold labels because they looked messy and too loud.
Keep labels to one or two words: Snacks, Sauces, Eat First, Dairy, Meal Prep. Anything longer and people stop reading them. I used a small label maker, but chalkboard labels or even masking tape and a marker work just as well. Put the label on the bin, not the shelf, so it moves with the container when you pull it out for cleaning. Avoid labeling every tiny thing, because a fridge covered in labels looks cluttered, which defeats the whole aesthetic goal. Label the zones, not the items.

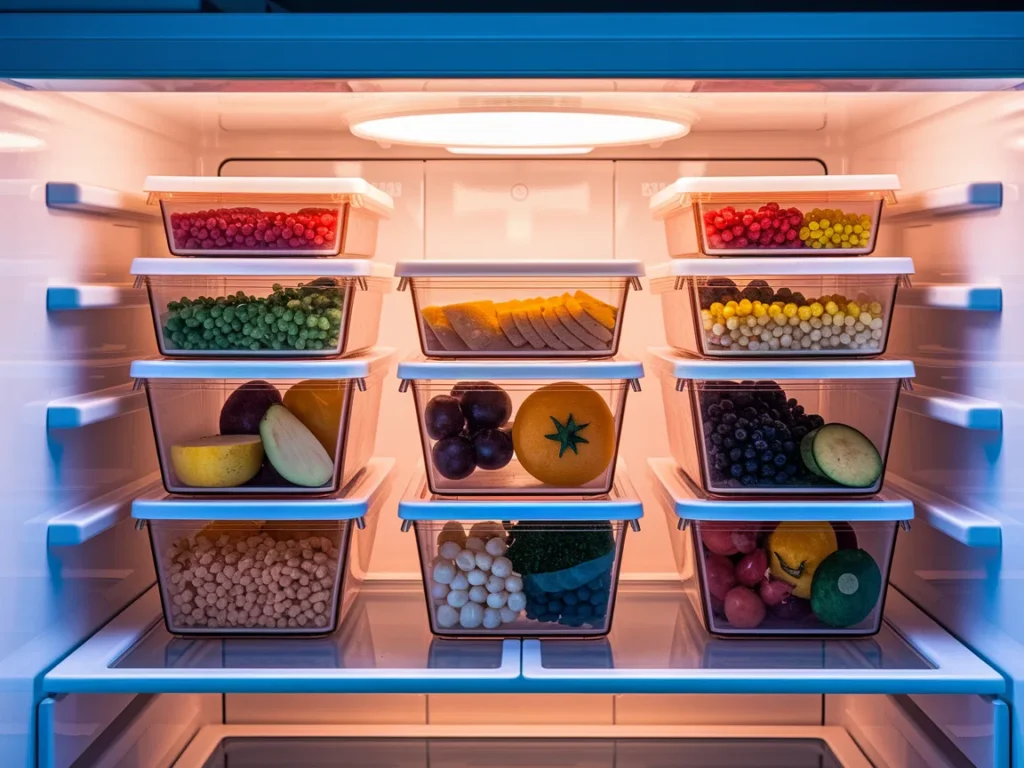
Keep One Shelf “Meal Prep Ready”
A meal prep shelf keeps the fridge looking clean because containers stay uniform. I used matching containers for chopped veggies, cooked chicken, rice, and sauces. This saved time during the week and reduced random packaging clutter. One shelf with meal prep items also looks very aesthetic in photos.
Sunday is my prep day. I cook a grain, roast a tray of vegetables, and portion protein into matching containers, all the same size so they stack perfectly. That shelf then feeds us lunches for four days with zero morning decisions. Glass containers with locking lids are worth the investment here because they go from fridge to microwave without a second dish. Keep sauces separate in small jars so nothing gets soggy. This shelf is also why my laundry room organization finally stuck: once one system in the house works, you start applying the logic everywhere.
Follow The Final 2026 Fridge Reset Rule
The final 2026 fridge reset rule is “reset in 5 minutes, twice a week.” I removed expired items, wiped spills, and put items back into their zones. This kept the fridge aesthetic without a full deep clean. A fridge stays Pinterest-ready when it stays simple and consistent.
Twice a week, five minutes, timer on. I do Wednesday and Sunday. Pull the Eat First bin, toss anything expired, wipe any sticky spots with a damp cloth, and put strays back in their zones. That is the whole routine. The reason twice a week works better than a big monthly clean is that mess never compounds. A spill wiped on Wednesday never becomes a science experiment by Sunday. If you want this habit to survive, pair it with something you already do. Mine happens while leftovers reheat, so it never feels like extra work. For the rest of the kitchen, these kitchen decor ideas keep the whole room matching the fridge energy.
Frequently Asked Questions
What Makes A Fridge Look Aesthetic In 2026?
A fridge looks aesthetic in 2026 when it has clear zones, matching bins, and visible food. Clean rows and minimal packaging also improve the look fast.
Lighting helps too. If your fridge has dim bulbs, replace them with bright daylight LEDs. Good light makes colors pop and makes the whole interior photograph better, which is half the point of an aesthetic fridge.
Do Clear Bins Really Help Fridge Organization?
Clear bins help because food stays grouped and easy to spot. They also reduce spills and stop small items from disappearing behind larger ones.
They also save money. When you can see what you have, you stop buying duplicates. I cut about 20 dollars a month off my grocery bill just by being able to see the yogurt I already owned.
How Do I Keep My Fridge Organized All Week?
A quick reset schedule helps the most. A 5-minute reset two times a week keeps the fridge clean without a full deep clean.
The other secret is the one in, one out rule for the door. Every time a new condiment comes in, check whether an old one can go. Condiment creep is the number one reason fridges slide back into chaos.
Final Thoughts
Aesthetic fridge organization goals for 2026 work best with zones, matching bins, and a simple weekly reset. I saw the biggest change by adding an “Eat First” bin, a snack drawer, and a meal prep shelf. These upgrades made the fridge look clean and made daily life easier.
Start this weekend with just the zones and the Eat First bin. Those two changes take under an hour and deliver most of the result. Add the bins, labels, and turntable over the next few weeks as you find them on sale. An aesthetic fridge is a system you maintain in minutes, not a project you finish once. And if your entryway needs the same treatment, my over-the-door storage ideas use the same zone logic for small spaces.