


Garage home gym ideas work best when the space feels organized, safe, and easy to use. I helped set up garage gyms where the biggest problems were dust, poor lighting, and equipment scattered everywhere. Simple zoning, rubber flooring, and wall storage made the garage gym feel like a real workout room fast.
I built my garage gym twice: once the wrong way, and once the right way. The first version was just equipment dropped on bare concrete, and I quit using it within a month because it was cold, dark, and depressing. The second version I planned like a real room, with flooring, lighting, and storage, and I have trained there consistently for over a year now. The lesson was simple: a garage gym fails or succeeds on the setup around the equipment, not the equipment itself. These fifteen ideas are everything I wish someone had told me before I wasted money on version one.
15 Ideas List
- Rubber flooring for full workout zone
- Wall-mounted storage for weights
- Squat rack corner setup
- Dumbbell rack with drop-safe area
- Foldable bench to save space
- Turf strip for sled and warm-ups
- Mirror wall for form checks
- Bright ceiling lighting upgrade
- Fan setup for airflow
- Pegboard wall for small tools
- Storage bins for gym accessories
- Workout zones marked on the floor
- Mini recovery corner setup
- Cable control for clean look
- Simple garage gym reset routine
Rubber Flooring For Full Workout Zone
Rubber flooring makes a garage gym safer and quieter. I used rubber tiles and stall mats to protect the base floor from heavy equipment and drops. Rubber also improves grip, which matters in garages where floors can feel slippery. Full-zone rubber coverage made the space look cleaner because the gym area felt separate from the rest of the garage. This flooring choice also made cleaning easier since dust stayed on the surface instead of sticking in carpet.
Flooring is the single most important purchase in a garage gym, and I would buy it before any equipment. Bare concrete is brutal on joints, loud when you set weights down, and it cracks and stains over time. I covered my full workout zone with 3/4 inch rubber stall mats from a farm supply store. They cost a fraction of branded gym flooring, they interlock tightly enough, and they have survived two years of dropped dumbbells without a mark.
For coverage, I measured my main lifting area and added two feet on every side, because weights never land exactly where you plan. The mats butt together with almost no gaps, and I did not glue them down so I can pull one up if water gets underneath. One tip: unroll them outside for a day or two first. Fresh rubber mats have a strong smell, and airing them out in the sun makes a huge difference. Our rubber flooring ideas break down the thickness options if you are deciding between mats and tiles.

Wall-Mounted Storage For Weights
Wall-mounted storage keeps garage gym floors clear and makes the space feel bigger. I used wall racks for plates, dumbbells, and bands so nothing sat in random piles. This also improved safety because walk paths stayed open. Wall storage made the gym look more aesthetic because equipment stayed lined up and easy to access. This idea works best when heavy items stay low and lighter items stay higher.
Plates leaning against the wall are an accident waiting to happen, and they eat floor space fast. I mounted a two tier plate storage rack to the wall studs, and it freed up roughly six square feet of floor. The key detail is hitting actual studs: drywall anchors will pull out under the weight of iron plates. I used a stud finder, marked every stud, and drove lag bolts straight in.
I organized plates heaviest at the bottom and lightest on top, which keeps the rack stable and makes loading faster since you grab from the middle tier most often. For change plates and collars, I added small peg hooks on the side of the rack. Everything has a home now, and putting weights away takes seconds instead of being a chore I avoid. If you are still choosing plates, our equipment essentials guide covers what is actually worth buying first.

Squat Rack Corner Setup
A squat rack corner setup saves space and makes the garage gym layout feel structured. I placed the rack against one wall with enough room for safe movement and barbell space. This created a clear strength zone for squats, presses, and pull-ups. Corner placement also kept the center open for dumbbells or stretching. A rack setup looks best when paired with rubber flooring and plate storage nearby.
Putting the squat rack in a corner was the best space decision I made. A rack in the middle of a garage dominates the room, but tucked in a corner it leaves the center open for everything else. I left three feet of clearance on each open side, which is enough to load plates and step back comfortably. Any tighter and plate loading becomes a knuckle scraping exercise.
I bolted the rack to the concrete with concrete anchors, which sounds intimidating but took twenty minutes with a hammer drill. An unbolted rack walks across the floor during heavy sets, and I did not want to discover that mid squat. I also hung a small whiteboard on the wall beside the rack for tracking sets. Seeing my numbers on the wall keeps me honest in a way a phone app never did.

Dumbbell Rack With Drop-Safe Area
A dumbbell rack with a drop-safe area keeps the garage gym cleaner and safer. I placed dumbbells on a rack close to the workout zone so I did not carry weights across the space. Then I added thick rubber mats in front of the rack to protect the floor from drops. This also reduced noise during workouts. A dumbbell zone looks more organized when weights stay in rows and the floor stays clear.
Adjustable dumbbells saved me from buying a full rack of fixed dumbbells, which would have cost five times more and taken a whole wall. I went with a dial adjustable pair that goes from 5 to 52 pounds, and it covers ninety percent of my training. The stand sits on a double layer of rubber mats because even careful lifters drop a dumbbell eventually.
I marked a drop zone on the floor with tape: a four by six foot rectangle in front of the rack where it is always safe to set weights down fast. This sounds fussy, but it stopped me from worrying about cracking the concrete every time I pushed a set hard. The rack itself I placed against the wall between the squat rack and the mirror, so grabbing dumbbells flows naturally through a workout without crossing the room.

Foldable Bench To Save Space
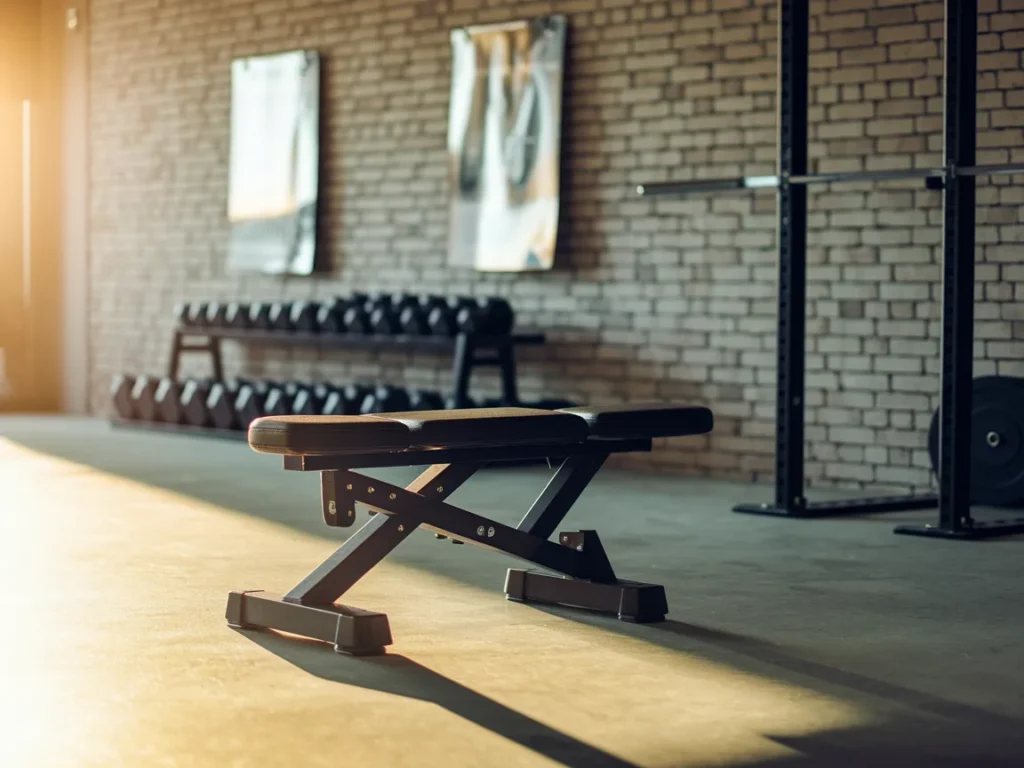
A foldable bench saves space in a garage gym because it stores flat when not in use. I used a folding bench so I could open the floor for stretching or cardio. This also helped when the garage needed space for storage or parking. A bench still adds a lot of workout value because it supports presses, rows, and step-ups. Foldable designs work best when the frame feels stable and the padding stays firm.
A flat bench that does not fold is a space hog in a single car garage. I bought an adjustable bench that folds flat to about ten inches wide, and I lean it against the wall when I need the floor for deadlifts or stretching. It takes five seconds to fold and unfold, so I actually do it instead of leaving it out.
When shopping, I checked the weight capacity first and ignored everything under 600 pounds. A wobbly bench ruins pressing movements and feels unsafe. The pad gap (the space between seat and backrest on adjustable benches) bothered me on cheap models, so I paid a bit more for one with a minimal gap. It was worth it: no more pinching during incline work. Our stylish home gym ideas show how a bench can look intentional rather than bulky in a small space.
Turf Strip For Sled And Warm-Ups
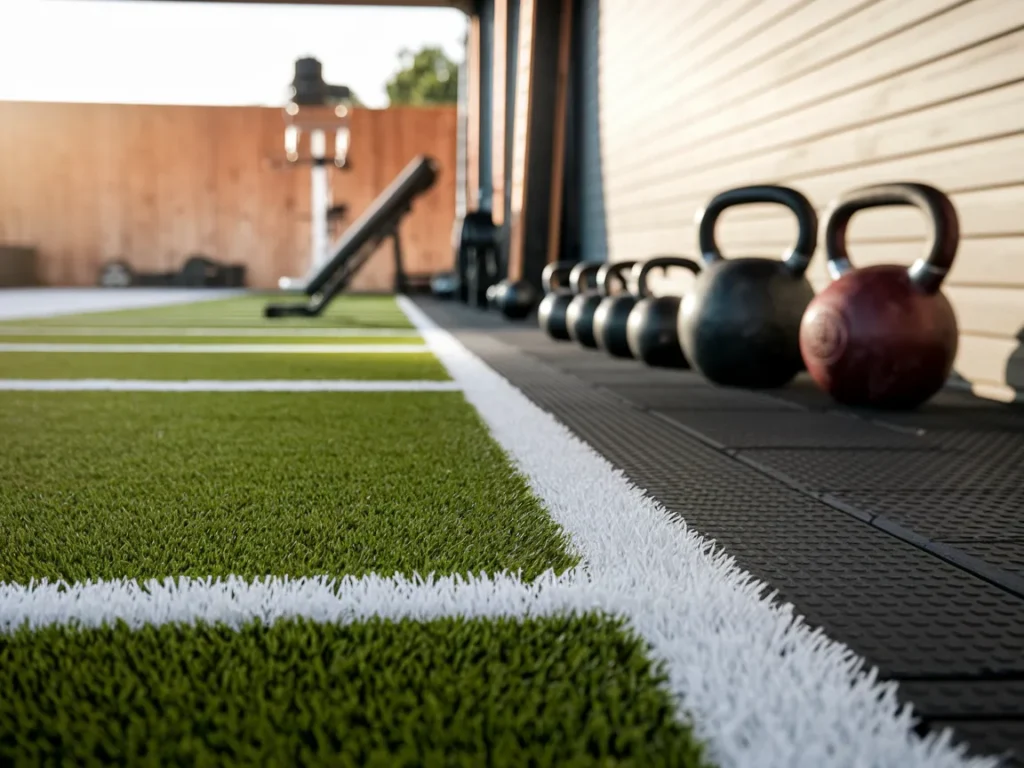
A turf strip adds a training lane that makes the garage gym feel more professional. I used turf for sled pushes, farmers carries, and warm-up drills. Turf also protects the floor in movement zones where shoes cause scuffs. A strip layout works best along one side of the garage so the center stays open for strength training. Turf makes the gym look more modern and photo-ready.
A ten foot turf strip along one wall changed my warm ups completely. I do walking lunges, bear crawls, and sled pushes on it, and the surface is so much kinder than concrete. I bought a roll of gym turf online, cut it to fit, and laid it over the rubber mats with double sided tape on the edges. Total cost was under two hundred dollars.
For the sled, I use a lightweight push sled with plastic skis that glides on turf without tearing it. I load it light and push for conditioning finishers twice a week. The turf also defines a lane that keeps sled work from drifting into the lifting zone. One maintenance note: vacuum the turf monthly. Chalk dust and rubber crumbs work their way in, and a quick vacuum keeps it feeling new.

Mirror Wall For Form Checks
A mirror wall helps improve exercise form and also makes the garage gym look bigger. I placed a large mirror near the lifting zone so I could check squat depth and posture. Mirrors also reflect light, which helps garages feel less dark. This idea adds value because it supports safer training. A clean mirror wall looks best when it stays free from clutter in front.
I resisted mirrors at first because they felt vain, but they are genuinely a training tool. Checking my squat depth and bar path in real time fixed form issues I had trained around for months. I mounted three large frameless mirrors side by side on the wall facing the squat rack, using mirror adhesive and J clips into the studs.
Placement matters: the mirrors face my lifting position directly, not off to the side where I would have to turn my head. Turning your head under load is exactly what you want to avoid. I also learned to mount them starting about a foot off the floor, since the bottom foot just reflects mats anyway. Big box stores sell affordable door sized mirrors that work perfectly for this.
Bright Ceiling Lighting Upgrade
Bright ceiling lighting upgrades a garage gym fast because garages often have weak light. I swapped dull bulbs for brighter ceiling lights so the whole space felt cleaner and safer. Better lighting also improved mood during workouts and made the gym look better in photos. Even lighting reduces dark corners, which makes the garage feel larger. Lighting upgrades work best when the light stays white but not harsh.
My garage had a single dim bulb that made 6 AM workouts feel like punishment. I replaced it with four linkable LED shop lights, and the difference was immediate: the space feels like a real gym now. I chose 5000K daylight temperature because warm light makes me sleepy, and bright white light signals training time to my brain.
I hung them in a grid so there are no dark corners, and I plugged them into a smart plug so they turn on with a voice command. Walking into a bright gym versus fumbling for a pull chain genuinely affects whether I train on low motivation days. The whole upgrade cost about eighty dollars and took an hour. If your garage has no ceiling outlets, linkable shop lights daisy chain from a single plug, which solves that problem neatly.

Fan Setup For Airflow
A fan setup improves garage workouts because garages heat up fast. I used a strong floor fan aimed at the workout zone to keep air moving during cardio and lifting. Better airflow also reduced sweat buildup and made the space feel less stale. A fan works best when it stays near a wall so it does not block movement. This simple upgrade made workouts feel easier and longer.
Garages turn into ovens in summer, and I nearly quit training in July before I fixed airflow. A wall mounted shop fan aimed at the lifting zone moves enough air to make ninety degrees bearable. Wall mounting keeps it off the floor where it would collect dust and get kicked. I mounted mine high in the corner, angled down at the workout area.
I also crack the garage door about a foot during summer sessions, which creates a cross breeze with the fan. In winter I do the opposite: door closed, fan on low just to keep air moving. A fan with a remote is worth the extra ten dollars because you will want to adjust it mid workout without walking across the room with chalky hands.

Pegboard Wall For Small Tools
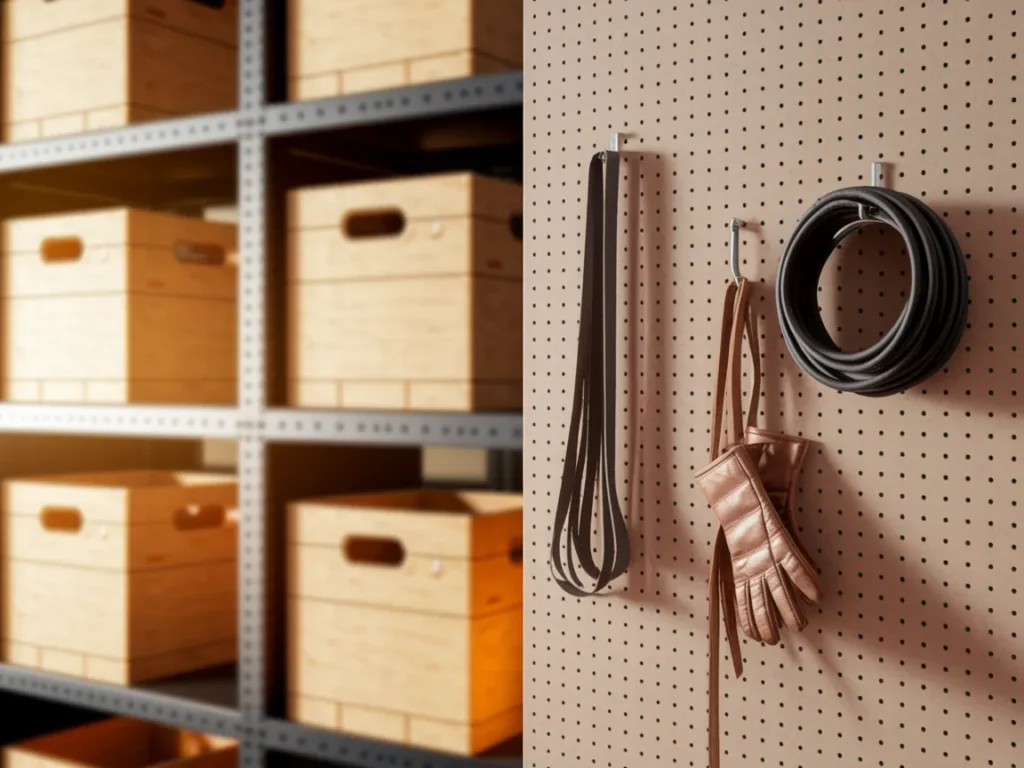
A pegboard wall keeps small gym tools organized and easy to grab. I used it for jump ropes, bands, gloves, and lifting straps. This stopped small items from piling on shelves or the floor. Pegboards also make the gym look more neat because everything hangs in a clean pattern. This idea works best when hooks stay spaced and categories stay grouped.
Resistance bands, jump ropes, lifting belts, and mobility tools used to live in a tangled pile that I dreaded touching. A four by eight foot pegboard on the wall solved it completely. I framed it with one by two lumber so it stands off the wall, which the hooks need to seat properly, and I painted it matte black so it looks intentional.
I grouped items by use: bands and mobility tools on the left, belts and wraps in the middle, jump ropes on the right. Everything visible, everything reachable. The real win is that putting things back is now easier than leaving them out, which is the only organization system that survives real life. Total cost was under fifty dollars including hooks.
Storage Bins For Gym Accessories
Storage bins help hide messy items like chalk, towels, and extra bands. I used matching bins on a shelf so the garage gym looked clean even when I was busy. Clear bins worked best for quick finding, while solid bins looked more styled. One bin per category kept everything easy to maintain. This made the gym feel organized without effort.
Small stuff multiplies in a gym: chalk blocks, extra collars, bands, towels, cleaning spray. I use three stackable bins on a low shelf, labeled with a label maker: chalk and grips, bands and wraps, cleaning. The labels sound excessive until you share the space with someone else, and then they are essential.
I chose clear bins so I can see contents without opening them, and I keep the cleaning bin stocked with a spray bottle of diluted disinfectant and a roll of shop towels. Wiping down the bench and bar after sessions takes thirty seconds when supplies are right there. Without a dedicated spot, cleaning supplies migrate into the house and the wiping habit dies.

Workout Zones Marked On The Floor
Marked workout zones help garage gyms feel structured. I used floor tape to mark a lifting square, a turf lane edge, and a stretching corner. This made equipment placement easier and kept the floor clear. Zoning also helped the gym look better because each area had a purpose. Simple markings work best because they stay clean and not distracting.
I used colored floor tape to mark three zones: lifting, conditioning, and mobility. It sounds like something only a very organized person does, but it solved a real problem: equipment creep. Before the zones, my kettlebell somehow ended up under the car every week. Now everything has a painted home and the zones make the small space feel bigger because each area has a purpose.
I used different tape colors per zone and sealed the edges with clear packing tape so they survive mopping. The lifting zone is the rubber mat area, conditioning is the turf strip, and mobility is a quiet corner with a yoga mat. When I finish, a quick scan tells me if anything is out of place. It takes ten seconds and the gym always looks ready.
Mini Recovery Corner Setup
A mini recovery corner improves the garage gym because stretching and recovery feel easier. I used a small mat area with a foam roller and massage ball stored nearby. This created a calm zone for cooldowns after training. A recovery corner also keeps these tools from floating around the gym. This idea adds value because recovery supports consistency.
I used to skip stretching because there was nowhere pleasant to do it. Now a corner with a yoga mat, a foam roller on a wall hook, and a lacrosse ball in a small basket gets used after almost every session. The corner faces away from the equipment so it feels separate, almost like a different room. That mental separation matters: it signals cool down time.
I added a small Bluetooth speaker there too, and I play something calm during the ten minute stretch routine. It turned recovery from a chore into the part of the workout I actually look forward to. The whole corner cost less than a hundred dollars, and it has probably prevented more injuries than any piece of equipment I own.
Cable Control For Clean Look
Cable control makes garage gyms look clean because cords can create visual mess fast. I used wall clips and a power strip station to keep cords tight near machines and lights. This improved safety because cables stayed off walk paths. Cable control also made the gym look more polished in photos. This is a small upgrade with big impact.
Cables were the thing that made my gym look messy even when everything was put away: fan cords, shop light cords, speaker chargers snaking across the floor. I ran them all along the wall using adhesive cable channels painted to match the wall. The channels cost a few dollars per pack and the transformation was instant.
For anything that needs to cross the floor, like the fan cord, I used a flat rubber cord cover that sits flush. No more tripping, and the vacuum glides over it. I also mounted a small power strip on the wall at waist height so chargers live off the floor. Clean cables are one of those invisible upgrades: nobody compliments them, but everyone notices the room feels calmer.
Simple Garage Gym Reset Routine
A simple reset routine keeps the garage gym clean without extra work. I used a 5-minute reset after workouts: rack weights, wipe sweaty surfaces, and sweep the floor. This kept dust and clutter from building up. A quick reset also makes it easier to start the next workout without delay. This routine helped my garage gym stay photo-ready most days.
My reset routine has five steps and takes under five minutes: rack all weights, wipe the bench and bar, hang up bands and belts, sweep the lifting zone, and put the speaker on the charger. I do it immediately after every session while I am still in gym mode. Waiting until later means it never happens.
The wipe down matters more than it sounds. Sweat corrodes barbell knurling over time, and chalk dust gets into everything if you let it sit. I keep the spray bottle and towels in the cleaning bin right by the door, so there is zero friction. A gym that resets in five minutes stays inviting, and an inviting gym is one you actually use. That is the whole game.
Frequently Asked Questions
What Is The Best Flooring For A Garage Home Gym?
Three quarter inch rubber stall mats are the best value for most garage gyms: they protect concrete, deaden noise, and cost far less than branded gym tiles. Interlocking rubber tiles look cleaner and are easier to replace individually if one gets damaged. For the full breakdown of thickness and types, see our home gym flooring guide. Whatever you choose, cover the full drop zone plus two feet on each side.
How Do I Keep A Garage Gym From Getting Dusty?
Garages are dusty by nature, so the goal is management, not elimination. Sweep the lifting zone weekly, wipe equipment after sessions, and store small items in closed bins instead of open piles. Wall mounted storage keeps gear off the floor where dust collects fastest. A quick five minute reset after each workout does more than a monthly deep clean ever will.
What Equipment Works Best In A Small Garage Gym?
Start with adjustable dumbbells, a foldable bench, and a pull up bar: those three cover most training in minimal space. A squat rack comes next if you have the ceiling height (you need about eight feet for overhead pressing). Skip single use machines entirely in a small garage. Our equipment essentials list ranks everything by space efficiency.
How Do I Make A Garage Gym Look Aesthetic?
A cohesive color scheme does most of the work: I stuck to black, gray, and one wood tone, and the space instantly looked designed. Hide clutter with wall storage and bins, add the mirror wall for depth, and upgrade the lighting to daylight LEDs. Paint the walls if you can: a fresh coat of light gray paint is the cheapest transformation in this whole list.
Conclusion
Garage home gym ideas work best when the space stays organized, safe, and easy to maintain. I got the best results with rubber flooring, wall storage, bright lighting, and clear workout zones. Small upgrades like a fan, pegboard, and recovery corner improved comfort and consistency. When the garage gym feels clean and structured, workouts become easier to repeat every week.